
Now it’s time to accept the summer season as it is very near. But it’s also the time to decorate our home in a summer style. As we know that it is better idea to change your home decoration with each season. So here is an article where we will be telling you bring some colors of summer in your home through decorating your pillows. It is completely an easy tutorial article that will help you to make a DIY petal pillow tutorial of your own. Looking on the internet we have found this beautiful tutorial on V and CO. website written by Allison. So let’s look into it.
DIY Petal Pillow Tutorial:
Materials Needed:
1. 19 inches of fabric, from which you will actually need 18 inches or half a yard. You can choose any type of fabric and of any design depending on your choice.
2. ¼ yard felt. In this case, you will have to buy a high quality felt from the market and not the cheap quality one used for kid crafts. Here the one used is recycled from plastic bottles and is really thick.
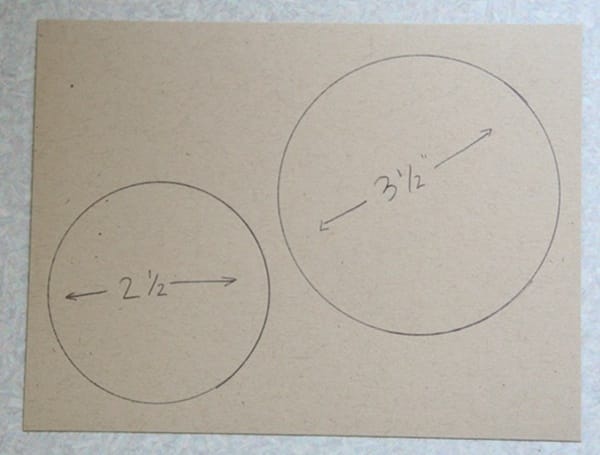
3. A large and a small cup for tracing.
4. A large bowl for tracing.
5. Pen
6. Scissors
7. Cardstock to make your template.
Procedure:
1. First trace the rims of your cup onto a card stock and cut it out.
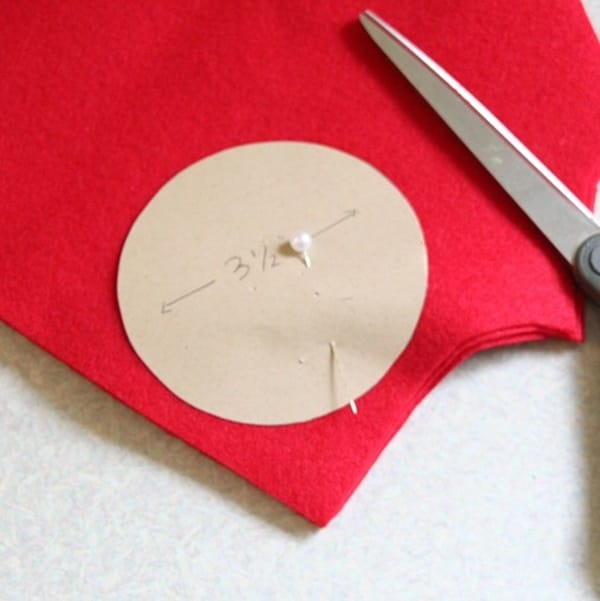
2. Now pin the templates to your felt and cut it out according to the circle. You can also fold your felt to make a shortcut
process. Actually this will help you cut 3-4 pieces of circular felts at a time.
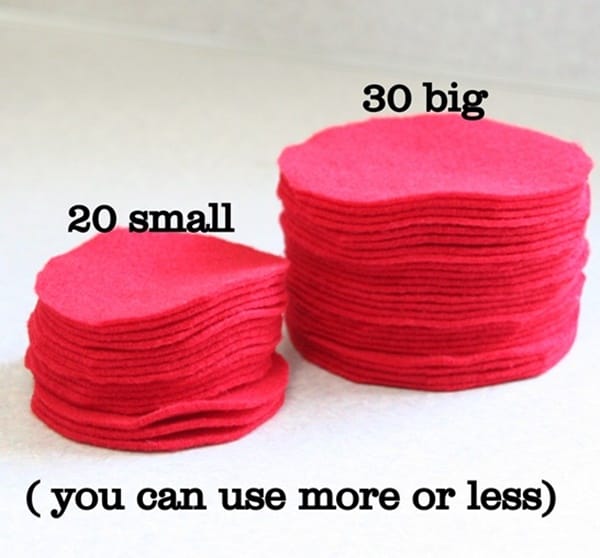
3. So you will have to cut out 30 large circles and 20 small circles if you want to make according to this article. You can use more or less according to your wish, but the more you will use the more beautiful it will be.
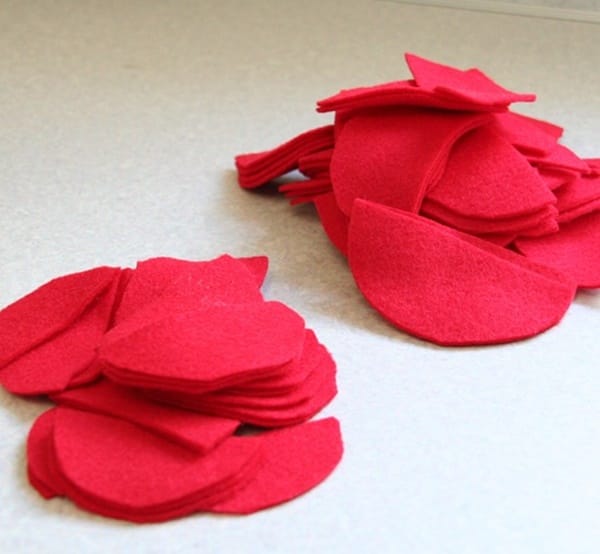
4. So now once you are done with your amount, your next work is to cut all the circles into halves.
5. Now leave the felts aside and take the fabric you have brought. Cut the fabric into three different measurements. 1 large square of 19×19 inches, one rectangle of 19×15 inches and one rectangle of 19×12 inches.

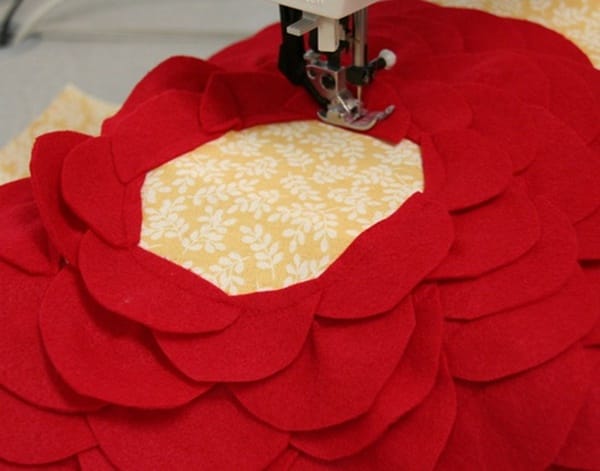
6. Now take the square cut fabric and trace a large circle in the middle with the help of a large bowl or a plate whatever you get. Leave 4-5 inches around the edges.
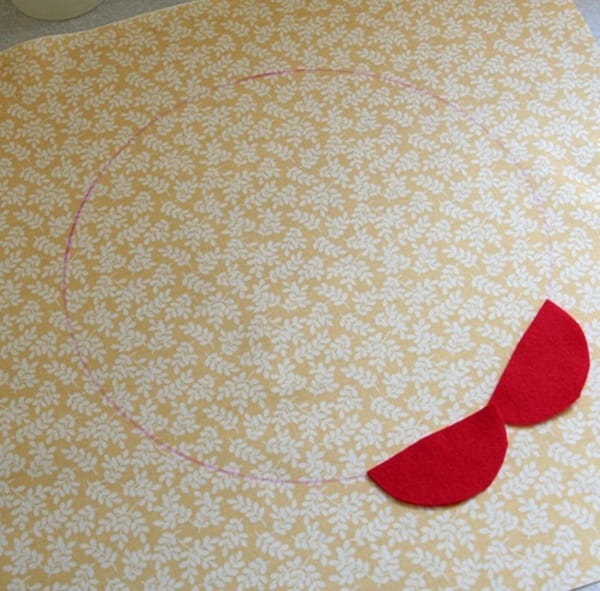
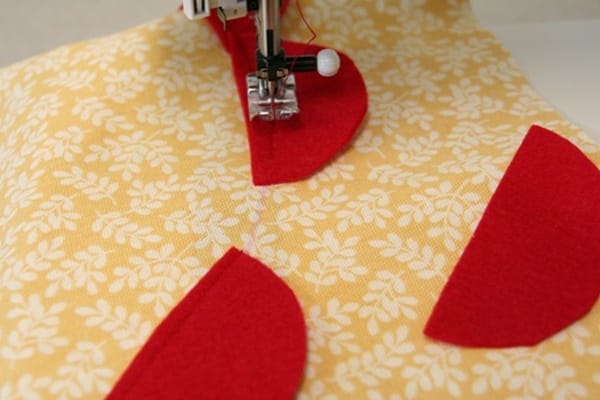
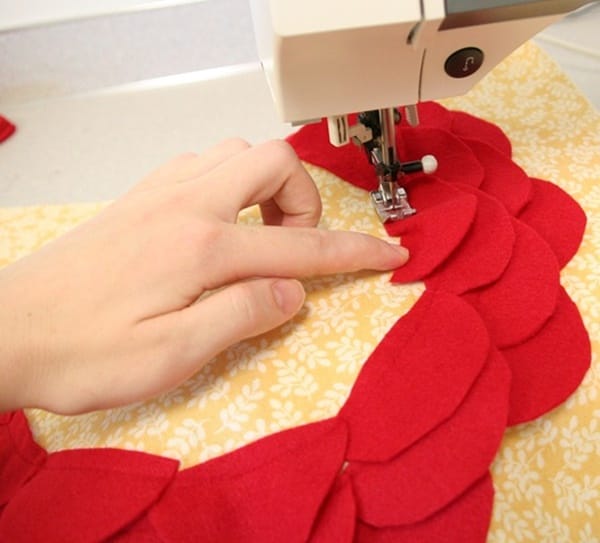
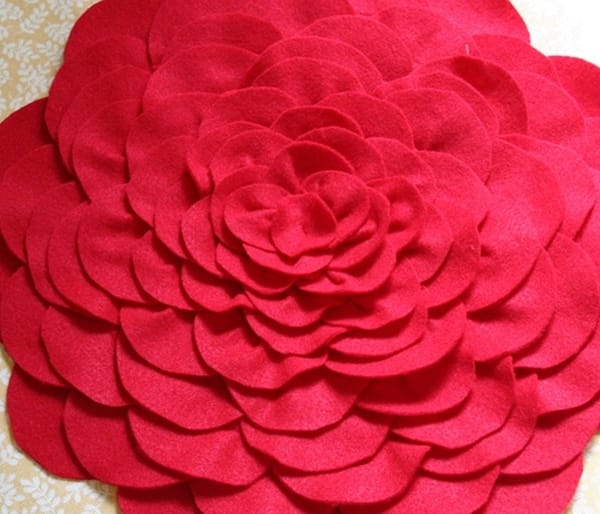
7. So you will have to line up the edge of large petals along the line you just traced on the fabric. As you sew the petals on the fabric, overlap the petals about a ¼ inch and continue sewing the petals along the circle.
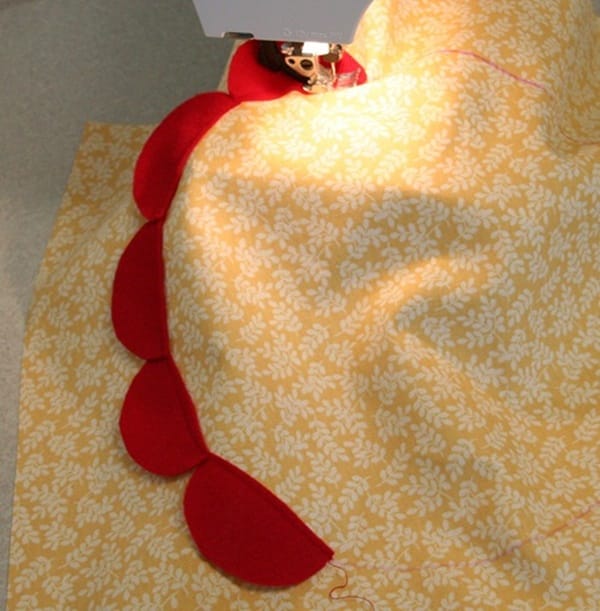
8. So when you return to the place where you started, put the petal in between the previous petals so they overlap each other. The after that you can start putting petals underneath the previous set. Here you can see that the straight edges of the petals are lined up only ¼ inch. Because it will look better when it is packed up. The more close you will make the more attractive it will be.
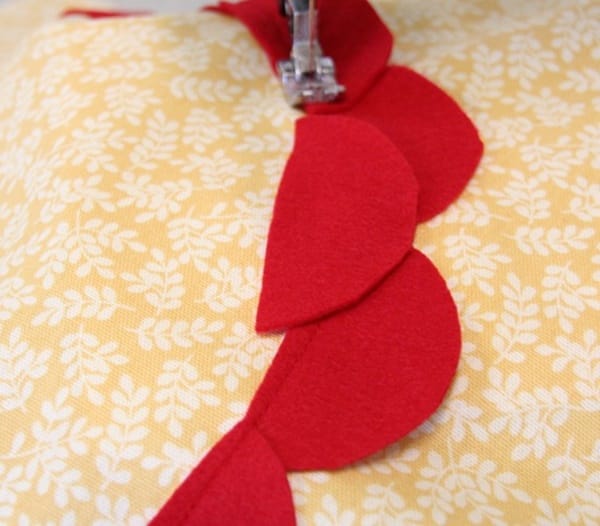
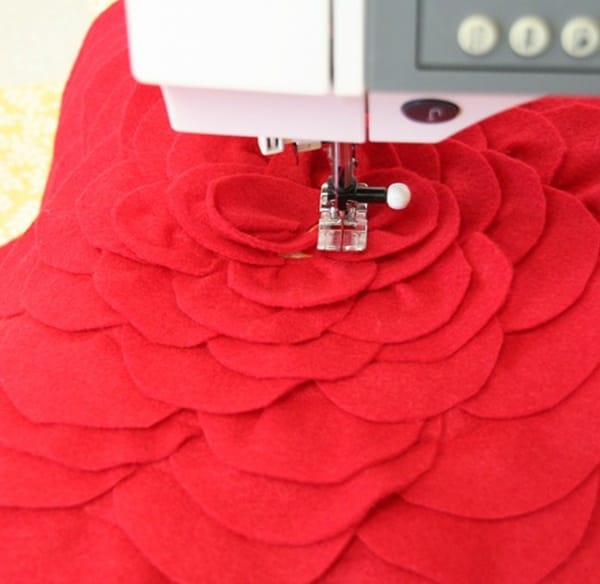
9. If you really want extra volume in your petals, you can easily curve them and fold the edges when you sew to make the petals stand up a bit. Here you can see that it is curved in the 4th row.
10. So after you have done with four or five rows, you will see that you are almost close to the centre. Now you will have to switch to the small petals. The more you get closer, try to curve and bunch the straight edge of petals so they stand up a little and look like real petals. So at last when you get to the centre, add a couple petals that are good and bunched at the bottom for extra volumes.
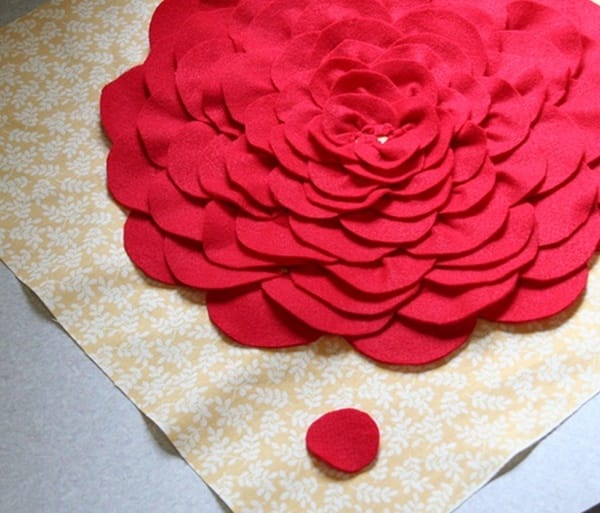
11. Now cut a small circle out of felt with diameter 1 inch. to cover the edges. Sew it down with a few stitches in the centre of the flower.
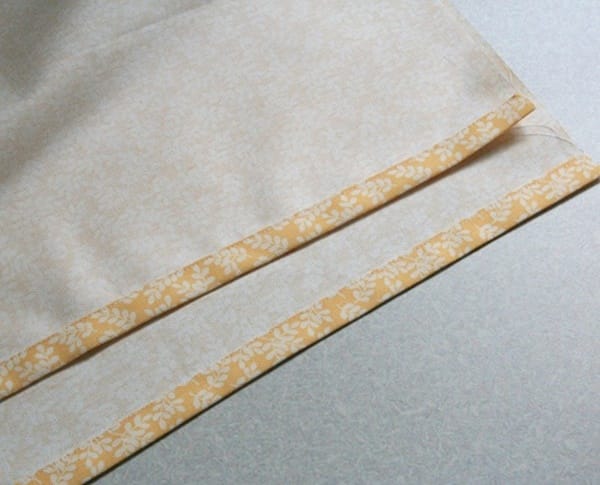
12. So you are done with the hard part of this tutorial. Now it’s time to make your pillow. Finish making the short edges of your two back rectangles by folding one side under ½ inches and sewing it.
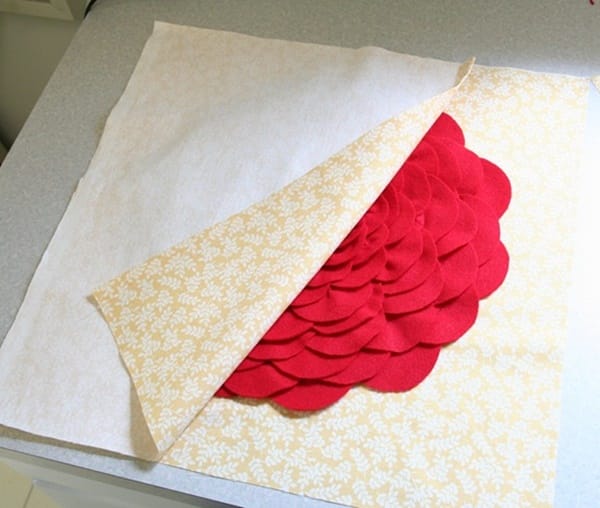
13. Place your Pillow front and back pieces right sides together by lining up the edges. Put the larger rectangle down first against the flower right sides together. Then now put your smaller rectangle on top of it with right sides together. Pin it for better result.
14. Sew around the edges with ½ inch seam. Do zigzag stitch around the edges and trim your corner and turn inside out.
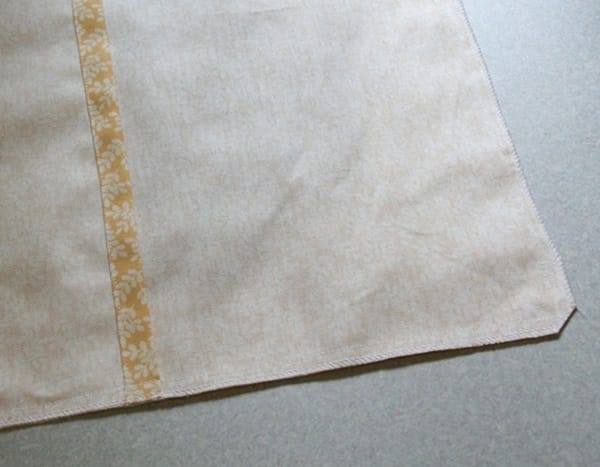
15. Stuff the pillow with cotton and you’re done with it.
Thanks for reading up the full tutorial and of course we thank to the original writer Allison in V and CO. blog. You will be getting a damn beautiful pillow for your bedroom or anywhere you want to keep it. Cheers!