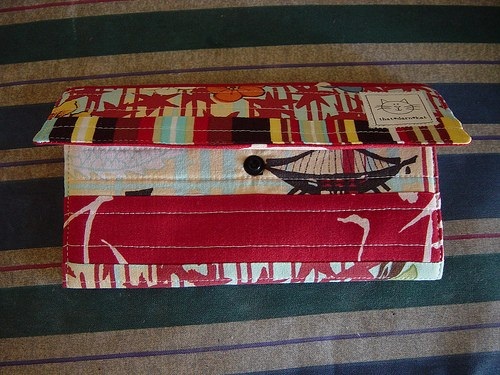
Thinking of wallets, a very special idea rang our mind. And we are speaking about fabric wallets. According to the recent fashion trend, fabric wallets really add some uniqueness in your fashion statement. If you are a fashion conscious woman, you will probably know the value of fabric wallets in the recent fashion arena. But yes we know that you are because it brought you to this tutorial. You can get a wide variety of fabric wallets to buy from the market, but when you make it on your own, it becomes more special to you. So here’s an amazing article that will teach you to make your own beautiful quilted fabric wallet. Let’s hook into it.
DIY Quilted Fabric Wallet Tutorial:
Materials Needed:
Grid Ruler
Mat
Rotary Cutter
Thread
Scissors
Sewing Machine
3-4 nos. of #14 sewing machine needles (You will need only one, but here we have mentioned 3-4 because of your extra stock, as if
your needle breaks out it’s quiet irritating to go to shop and buy one in the middle of your project)
Fasteners (You can use any type of fasteners like Velcro, snap pliers, poly resin snaps etc. here we have used poly resin snaps)
Dimensions of Cutting the Fabric:
Fusible Fleece – 7.75” x 10.75”
Fusible Interfacing – 7.75” x 10.75”
Pieced Top – 8.5” x 11.5”
Lining Fabric – 8.5” x 11.5”
Upper Pocket Fabric (2 pieces) – 8.5” x 7”
Lower Pocket Fabric – 8.5” x 19”
Procedure of Making:
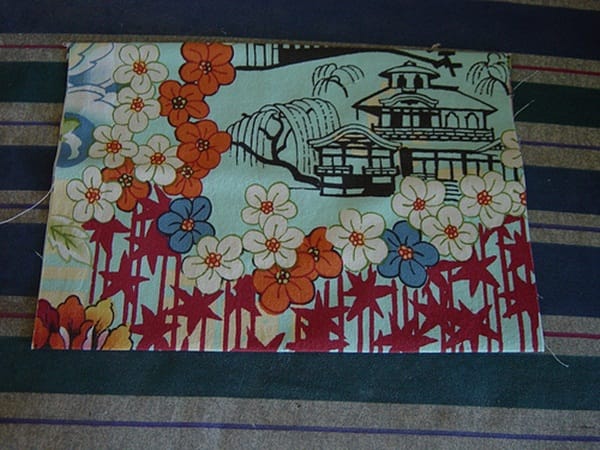
1. While you are starting with the project, first of all you will have to assemble the pieced top and you know about the dimension of the pieced top which we have mentioned above in the tutorial.
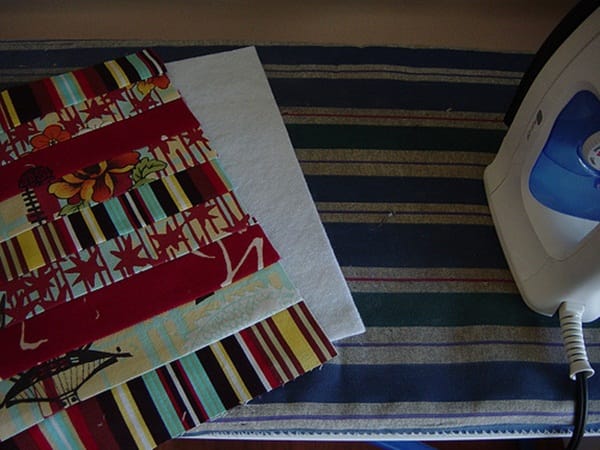
2. Now take your heated iron and iron your fusible fleece onto the wrong side of the piercing.
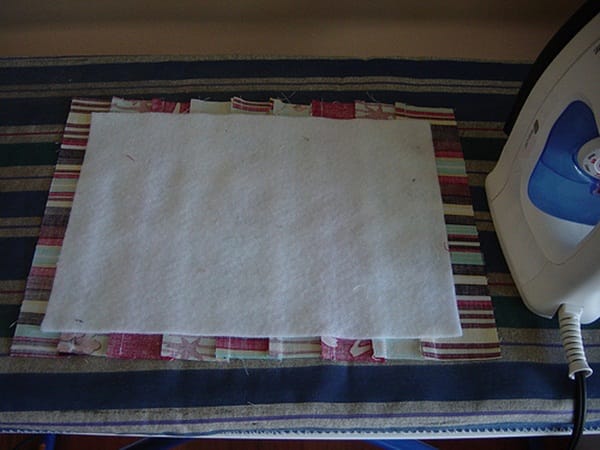
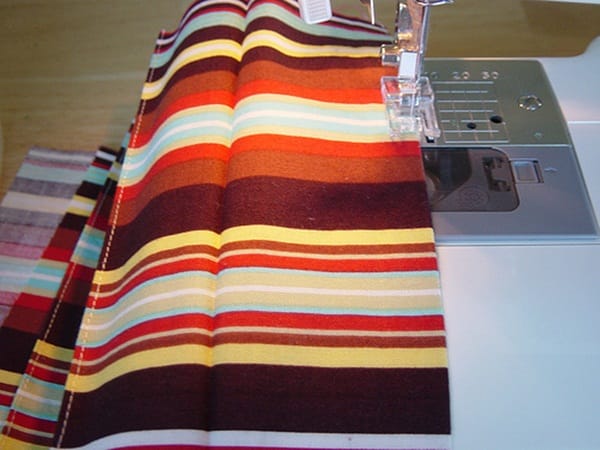
3. Take your sewing machine and use it to quilt the top. Try to use longer stitches to get better results for quilting.
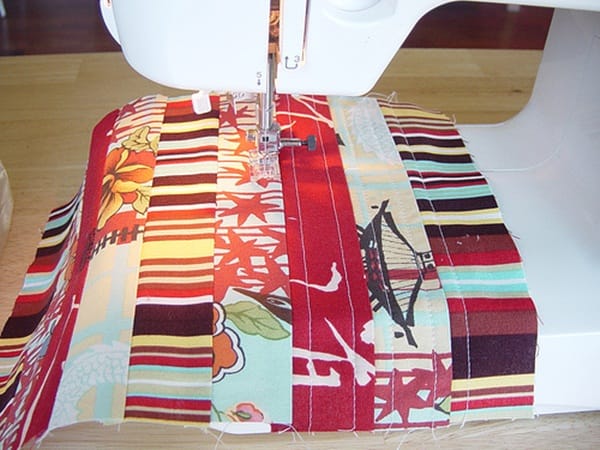
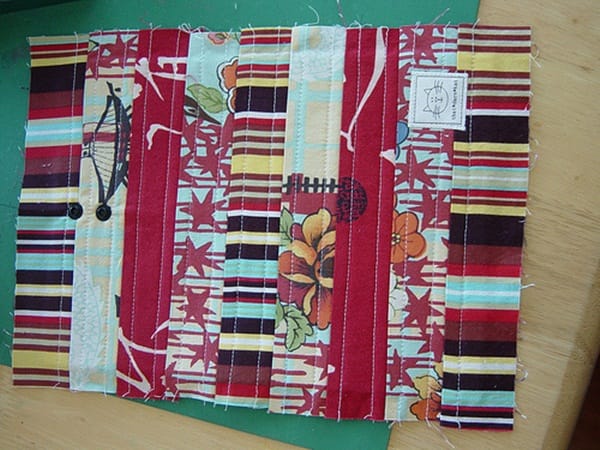
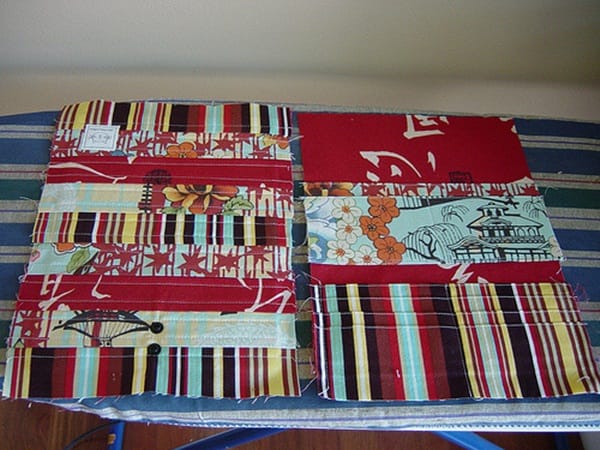
4. So after you have done with the quilting, your finished top will look like this as given in the below image.

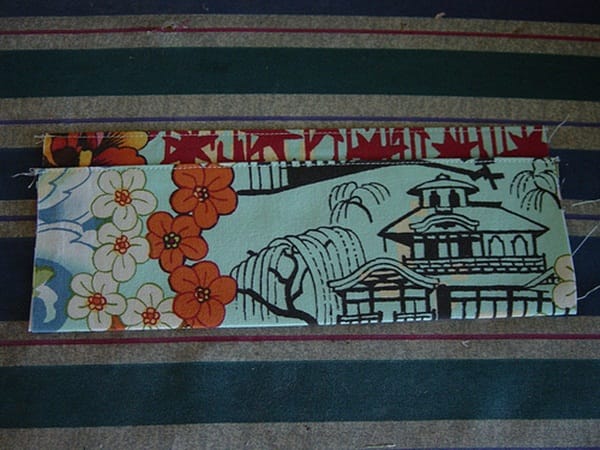
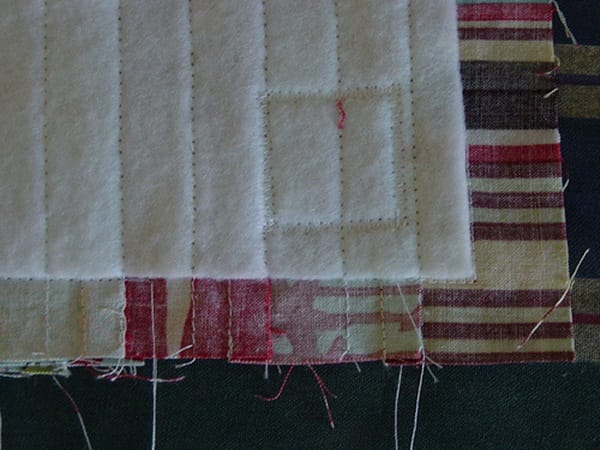
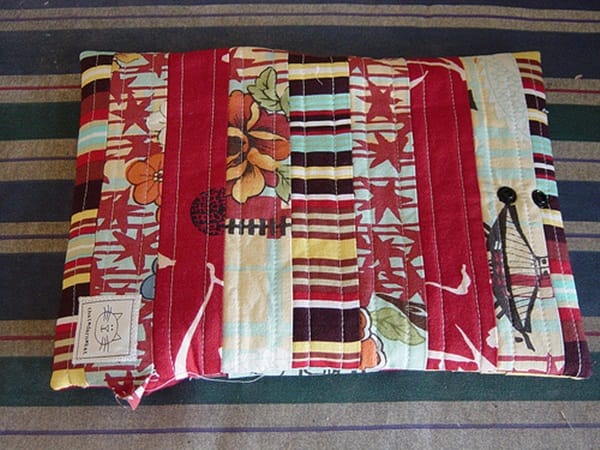
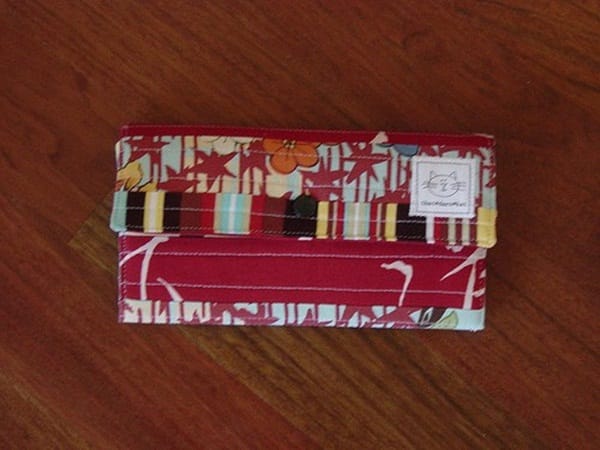
5. Now your next work is to attach the label and stud part. So if you are working with directional print fabrics, surely check the ends. Finally you are finished with the top and keep it aside for now.
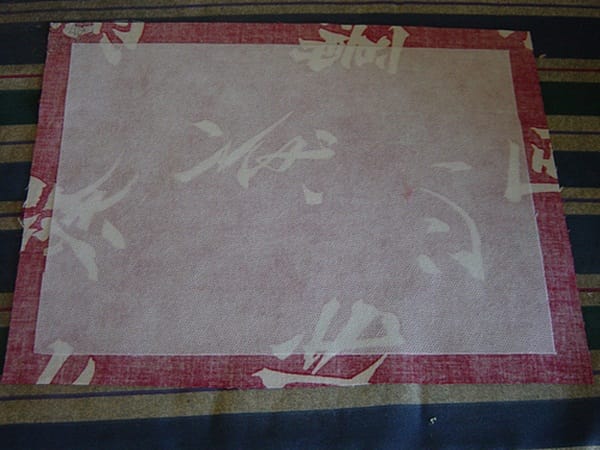
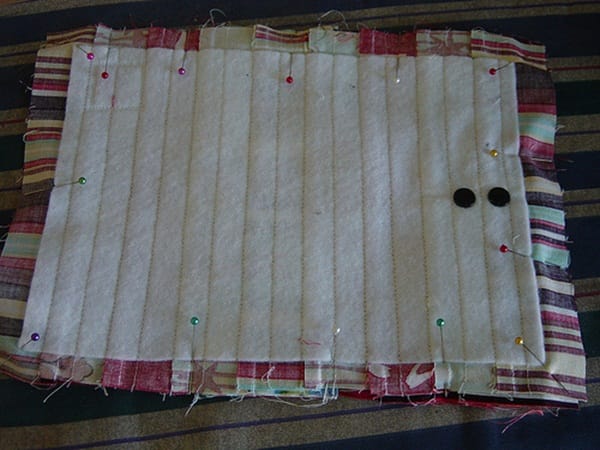
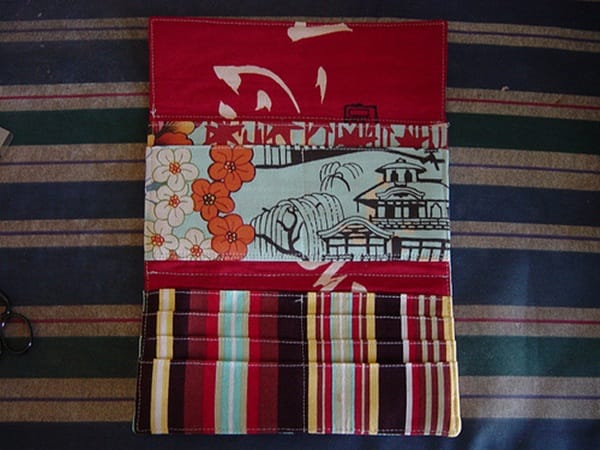
6. Here in the below image, you can see the lining. Place the interfacing to the wrong side of the lining as shown in the image.
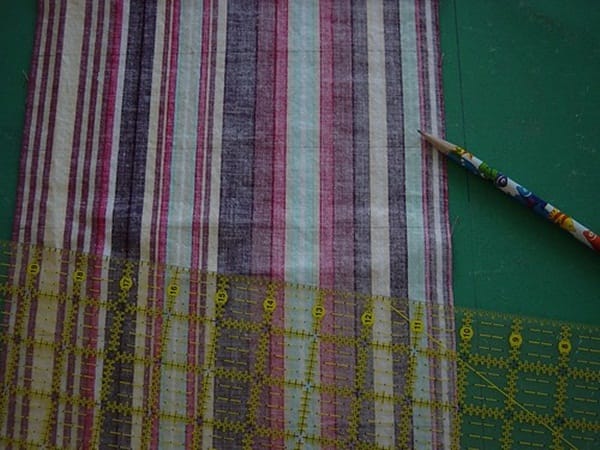
7. Now here’s a step that will make you fall in a trick. Now we will be making the lower pocket, which will actually have 6 credit card slots. Isn’t that nice? Doing nice things are a bit tougher and you know that well. So take your ruler and start
marking the back of the fabric with lines where the folds will be. Just note the marking measurements of the intervals .75”, 1.75”, 1.75”, 2.25”, 1.75”, 2.25”, 1.75”, 2.25”.
8. Now straightly go to the ironing table and iron your pockets nicely to bring it into shape. Remember to do it according to the lines you have drawn with measurements. Another thing is that you can see an extra bottom part which may lead you to confusion. So don’t think about it as we will be cutting it later.
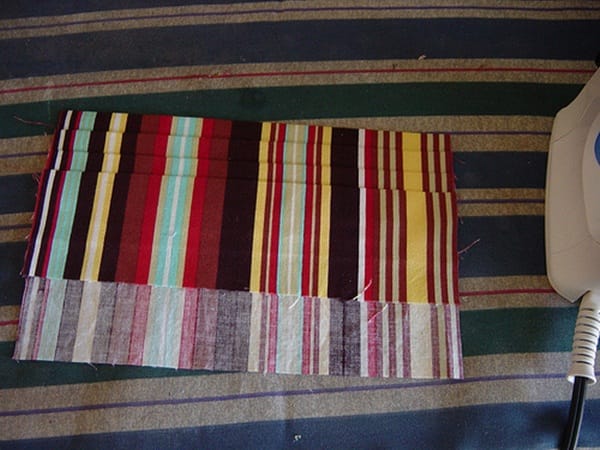
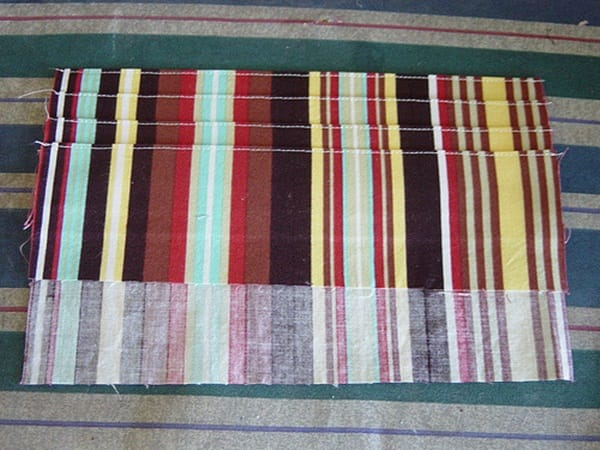
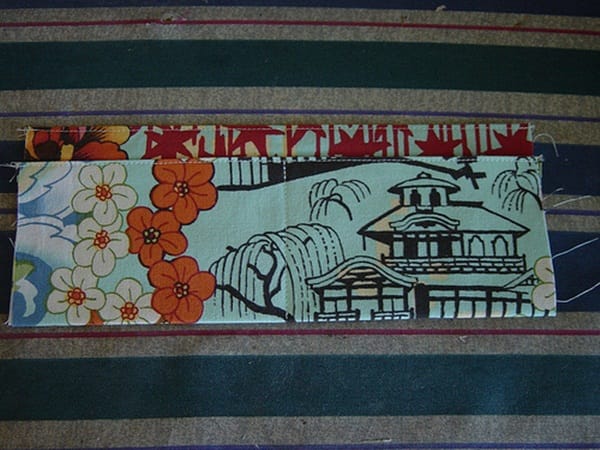
9. Next is you will have to top stitch along the folds of each pocket.
10. So look at the below image. Your material should look like this after the top stitch.
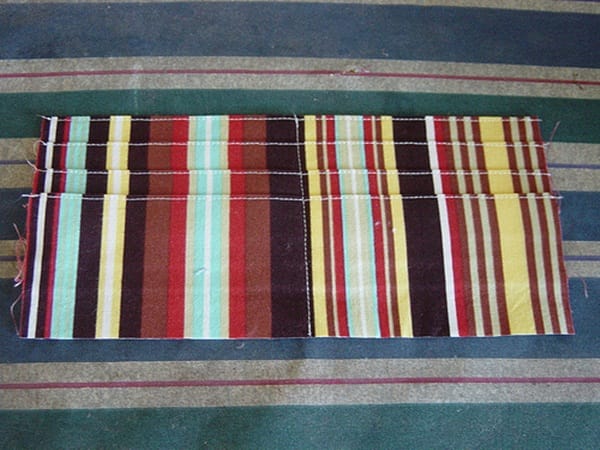
11. Now sew a line along the center from the bottom to top which will actually separate the credit card slots into six.
12. Here at this step, you will have to loosely sew the pockets you have made just now onto the lining fabric along the outside edges.
13. Now take the top pockets. Put it right side together to sew along the 8.5” edges, turn and iron it.
14. Top stitch along the edges of each side and fold the bottom up to .5” lower than the top.
15. Again stitch through the center of the pocket to separate the card slots.
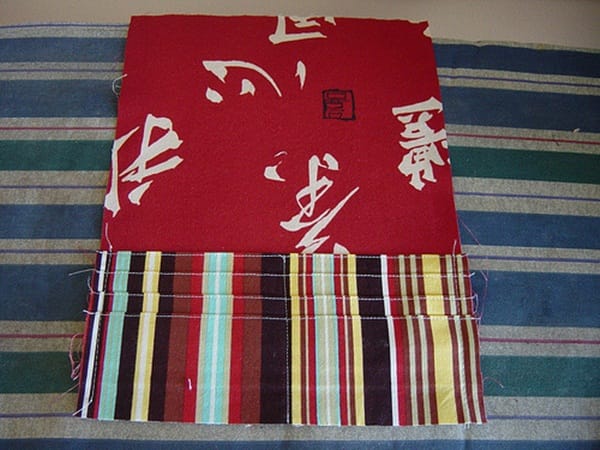
16. Now place the top pocket on the lining fabric as shown in the image and sew along the bottom of the pocket to attach them.
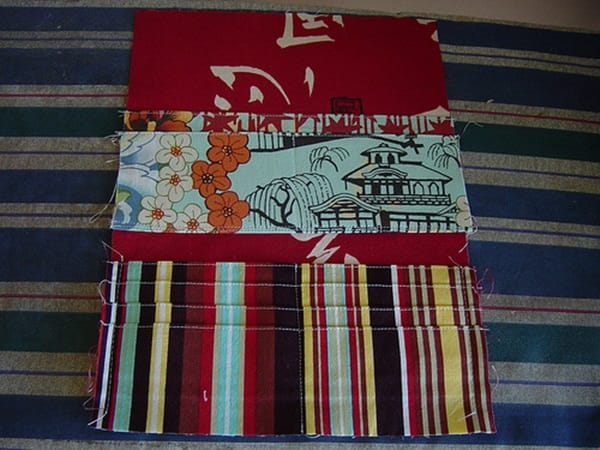
17. So now you have to pat your shoulder. Ohh! Because you have done a great job. You can see both the top piece and the
finished linings are ready.
18. Next put your lining and top right sides together and for your ease, pin the edges carefully.
19. Sew the outside of the fleece and don’t forget to leave a small opening for turning. See the close view of the image to understand what we are saying about.
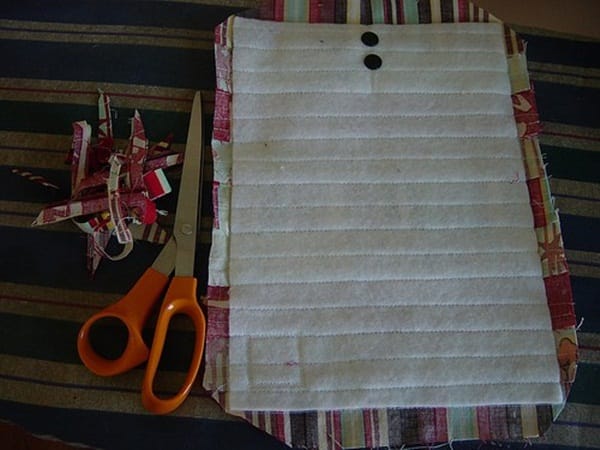
20. Trim the corners and take put whatever unnecessary from the seams.
21. Now please turn your wallet right side out and it will look like this.
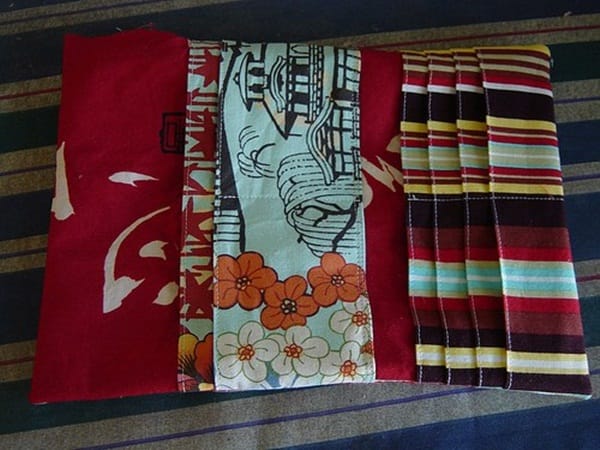
22. So take a credit card and check out the measurements of the slots.
23. Now top stitch all around the edges of the wallet. You will find it a bit tough because you will have to stitch through many layers together. Go slowly.

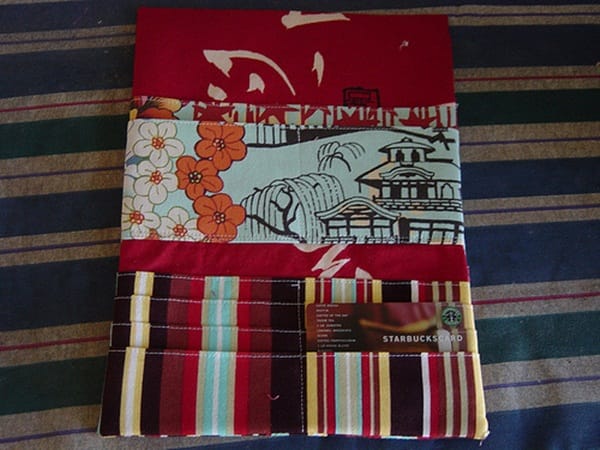
24. From the inside of the wallet you can see the stitching and again check out that your credit cards fit properly.
25. Now fold the whole wallet and press it nicely to bring it into shape.

26. Now again sew a line through each folds of the wallet to keep it into shape.
27. So it’s ready to travel with you. Yippee!
It’s for sure that you are loving your new wallet and now it’s time to check out some other tutorial articles in our blog and hang up with a new DIY project. Have a nice time bye.