Actually pendants are very attractive jewelry for girls. Nowadays people are more attracted on experimental jewelries than the jewelries made out of gold and silver. But when you make such a pendant on your own, how does it seems? Actually here we have come up with a tutorial of making a rolled paper pendant which you can just make on your own within a few hours or so. You can also try making heart shape emoji. Actually this article we have found in another source written by Ann Martin, a very creative writer and thought of rewriting a tutorial article on such an interesting project.
Here you will need just a few objects for making this beautiful pendant. Before going to the tutorial directly, we want to mention you all the articles and equipments needed to make this project so that you can arrange it in an ease. This project is so easy that it can even be made by a school kid. So now the two main things you will need is almost available in all crafts store. A slotted quilling tool and a pre cut quilling strips in various assorted colors. For more attractive look you can add beautiful metallic strips which are also available online.
This pendant can be worn by females of any age and can be even be hung as ornaments in various occasions or Christmas tree. So now we are giving the list of complete materials that you will need to make the project out. The lists are given in a detailed form and so now get ready with all the products for your project so that the process goes smoothly.
Materials:
1. 1/8” quilling paper (Standard Size): You can choose it according to your choice of colors. You are not going to mention the colors over here. Actually the choice of colors differs with people and so you people can choose it on your own.
2. Ruler
3. Glue: You can use any type of glue that is suitable for a paper work.
4. Paper Piercing Tool/ Tooth pick: Choose any one whichever you have in your home. Tooth pick is also going to work well for
applying glue.
5. A Plastic Lid that can be used as a glue pallet.
6. Slotted quilling tool
7. Paper shaping tools such as pen cap and pencil point. That means you can use a pencil to shape your paper.
8. Two Pairs of Jewelry Pliers.
9. Small Scissors.
10. A small container to hold glue/water mixture.
11. Small paint brush.
12. A cup.
13. Tape.
14. A Jump Ring.
15. Necklace chain or cording.
16. A piece of damp cloth to wipe hands and fingers. Paper can also be used for that.
Now you are going to start the step by step tutorial. The tutorial is given here with pictures so that it becomes easy for everyone to understand.
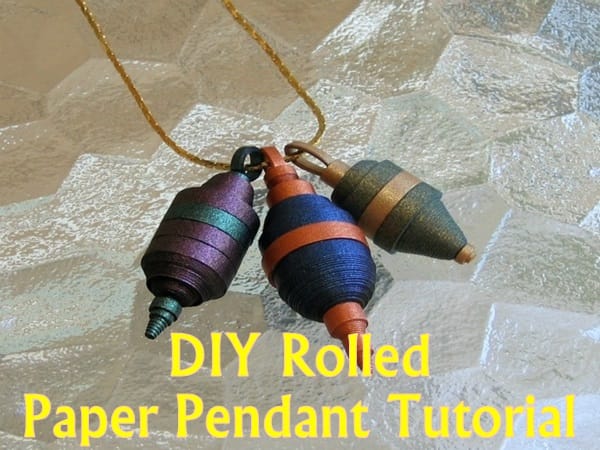
DIY Rolled Paper Pendant Tutorial: For Someone Special
Directions:
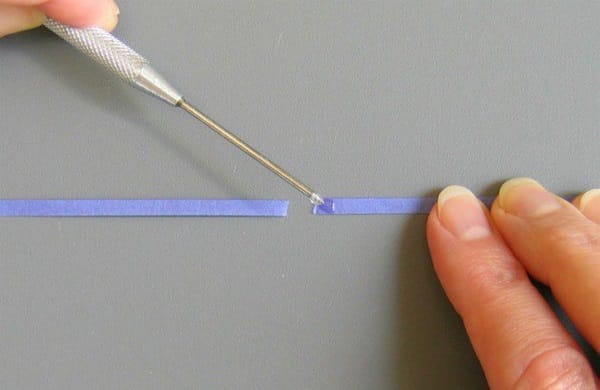
Step-1: At first, join two strips of quilling paper to make an extra long strip which will help you to roll without interference in the middle. Remember you have to do it before starting the rolling of paper. Apply a small amount of glue to the torn end of one strip and now lay the torn end of other strip on the glue. Allow sometime to dry the glue. Remember you have to make out three 40” strips of different colors to make out this project.
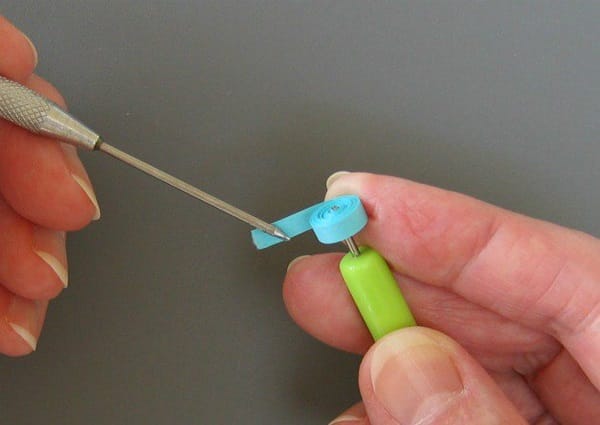
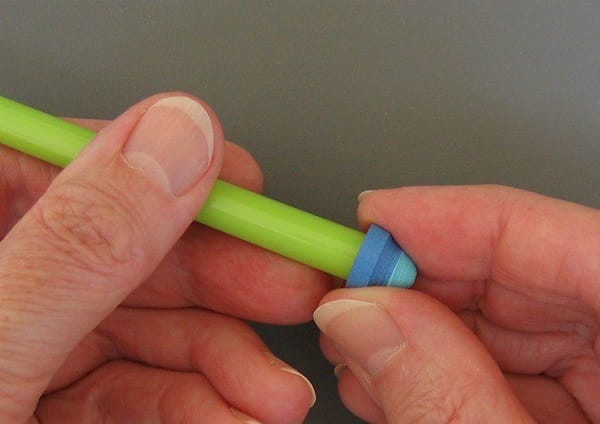
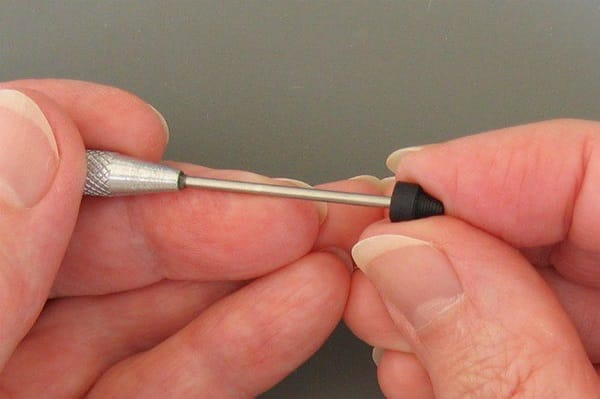
Step-2: Now you have to roll a disc of each color with each of the 40” strips. Now the question arises that how you will make the disc. Yes it is a very easy procedure. Feed one end of a disc into the quilling tool slot. Now roll the strip using even tension. Now when the full strip is rolled, apply a small amount of glue in the torn end of the strip and stick it tightly. Allow the glue to dry for sometime before sliding out the roll from the tool. If the roll has become uneven place it on a smooth table surface and press it flat by the tool.
Step-3: Connect 20” of a single color with a 20” of another color of strip and roll it to make a disc using the quilling tool. But remember one it should be the mix of two colors as said earlier.
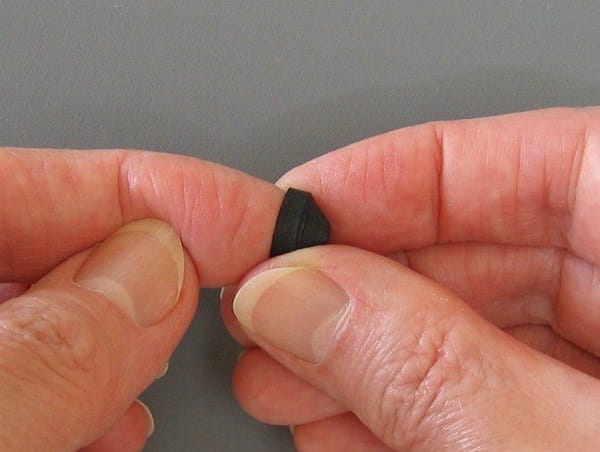
Step-4: Now place the disc on pencil point or pen cap to press it and make a shape. Apply a thin coating of glue inside to keep it in that particular shape using a toothpick or a piece of paper. Remember toothpick works better.
Step-5: Now make a small disc of another 9” color strip. After making the disc shape it in the same procedure as the above using a pencil point. And next apply glue inside it to maintain the shape.
Step-6: Take another strip of 24” which is of same color you have chosen in the step-5. Shape it with our finger tip and not a pencil point this time. Apply a thin layer of glue inside it.
Step-7: After the glue slightly dries up in the 24” disc, make a small indentation at the top of the coil by pressing it with a pen cap or the tip of the handle of a pliers.
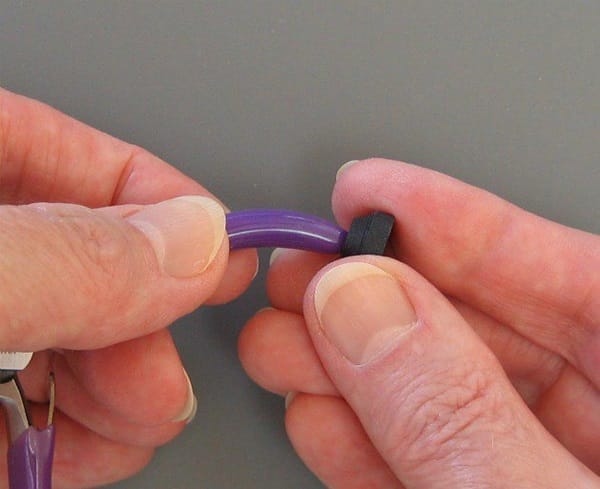
Step-8: in this step you will have to make a ring coil by wrapping a single color strip around the handle of a quilling tool. Just wrap 4-5 times to make a thin layer.

Step-9: Now slide the coil off the handle and trim the excess paper. Glue down the end and pinch two opposite ends to make marquise ring coil.
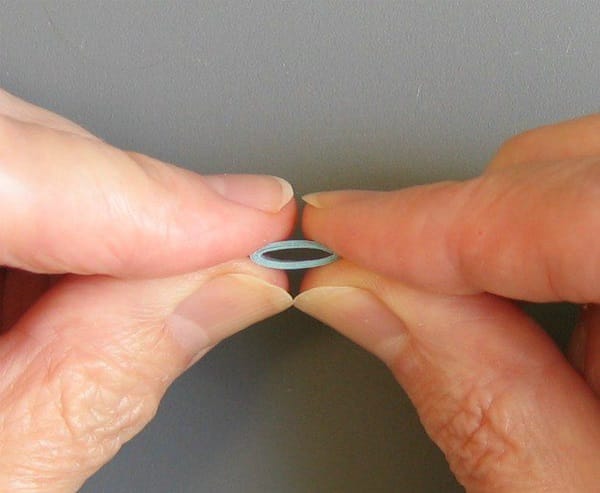
Step-10: Now assemble the full pendant like this as shown in the picture. And now stick the marquise ring coil to the indentation in the rounded black disc.