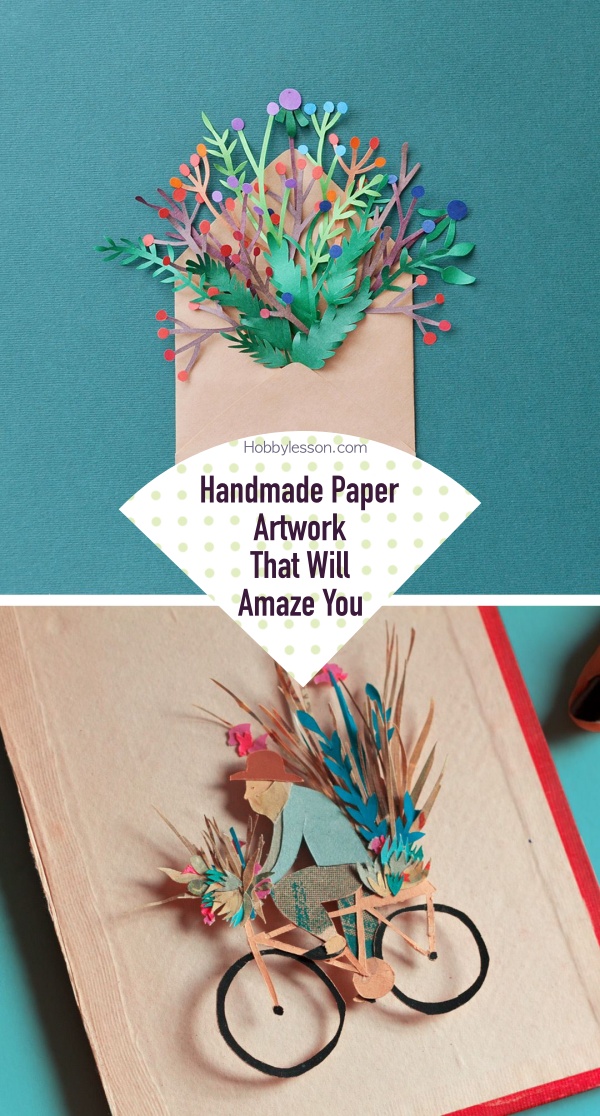
When it is about crafting, authenticity in the materials we use can make a significant difference. One item known for being versatile is paper and the diverse options available in color, texture, and size can allow for almost any project. Along with cutting and punching paper to a three-dimensional design, you can also use stamping, coloring, folding styles such as origami, dyeing, and other techniques to beautiful effect. These Handmade Paper Artwork ideas encourage crafters of all age to think outside the box and pick up inexpensive, easy hobbies.
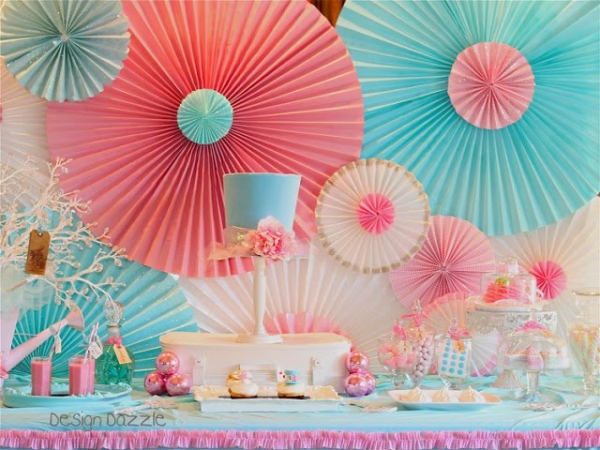
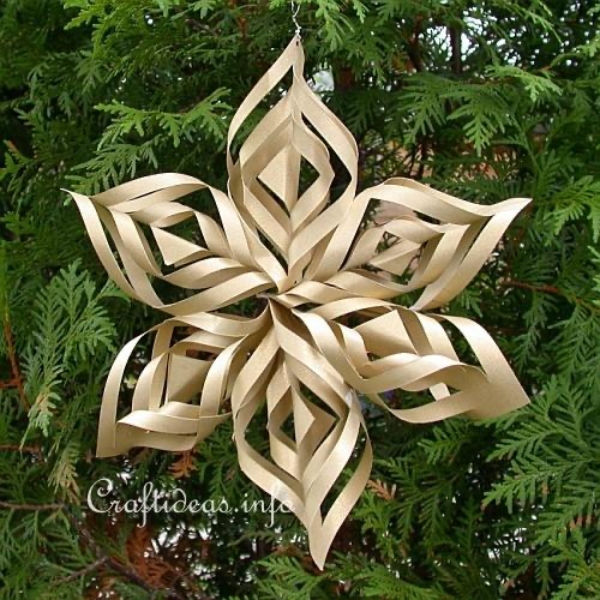
Paper Medallion Decorations
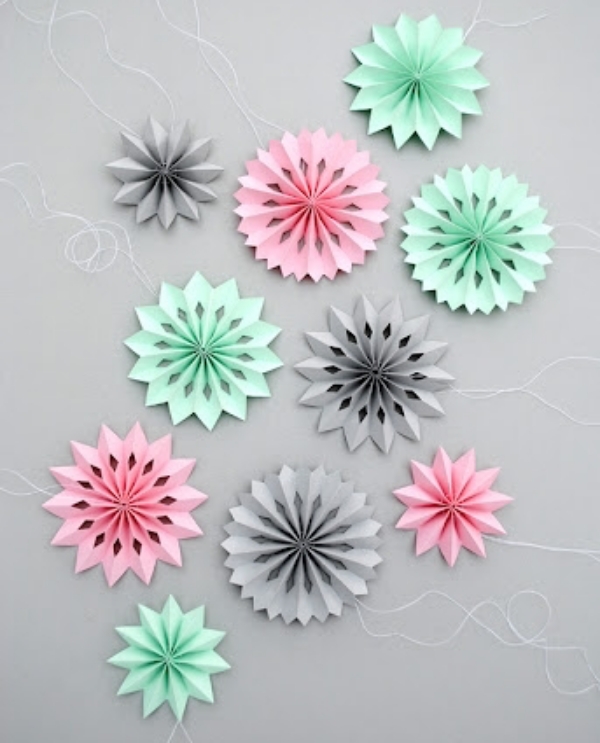
Charming punched-paper medallions can be used to brighten a door, wall, or window. Or string a few together for a garland or mobile. The layered collage effect is a fantastic method to highlight favorite special papers or use up scraps destined for the recycling bin.
Paper Animal Masks
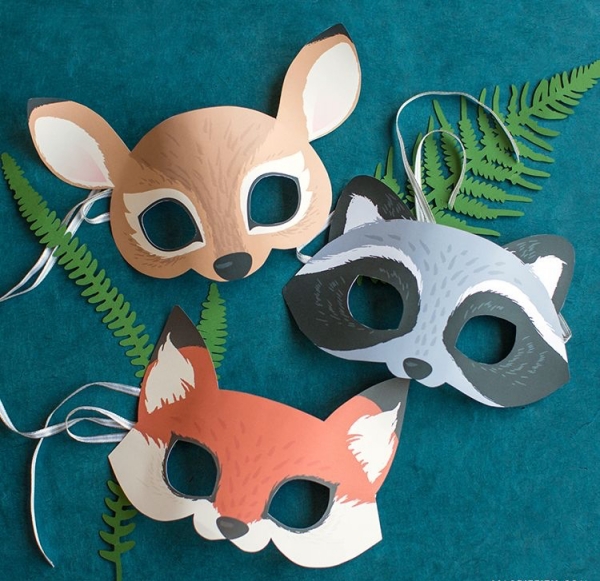
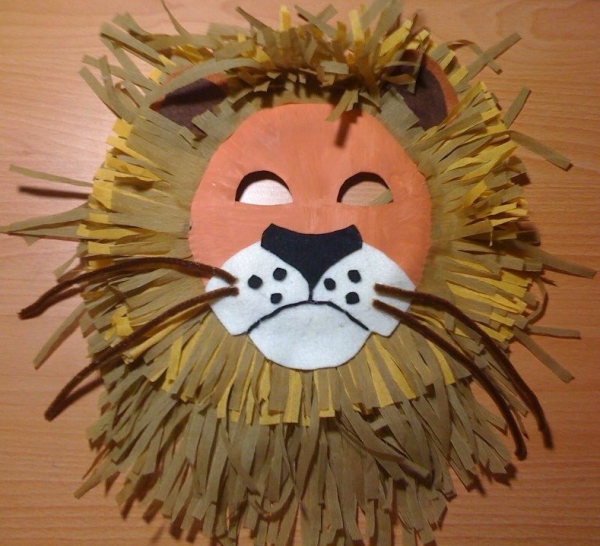
Let your imagination soar by creating paper animal masks. This easy-to-follow project starts things off with a paper template that kids will love. It produces little mess, allowing little ones to take part in a creative venture that will have less limits.
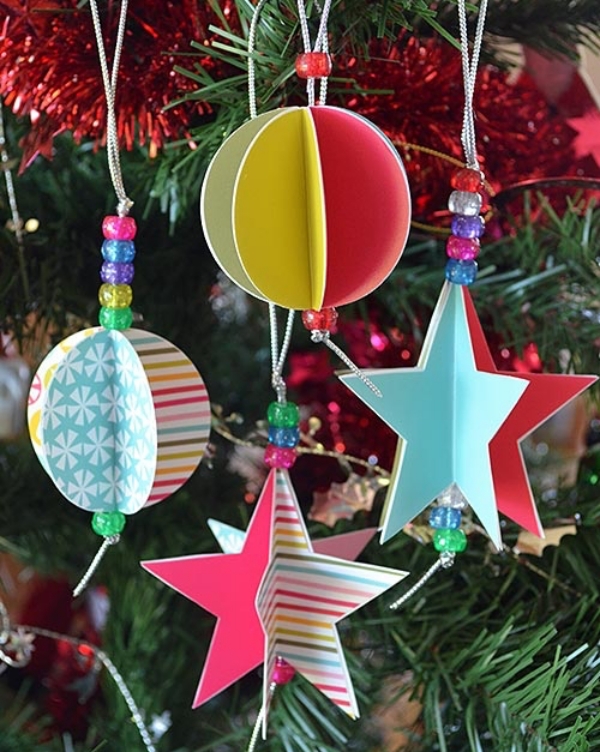
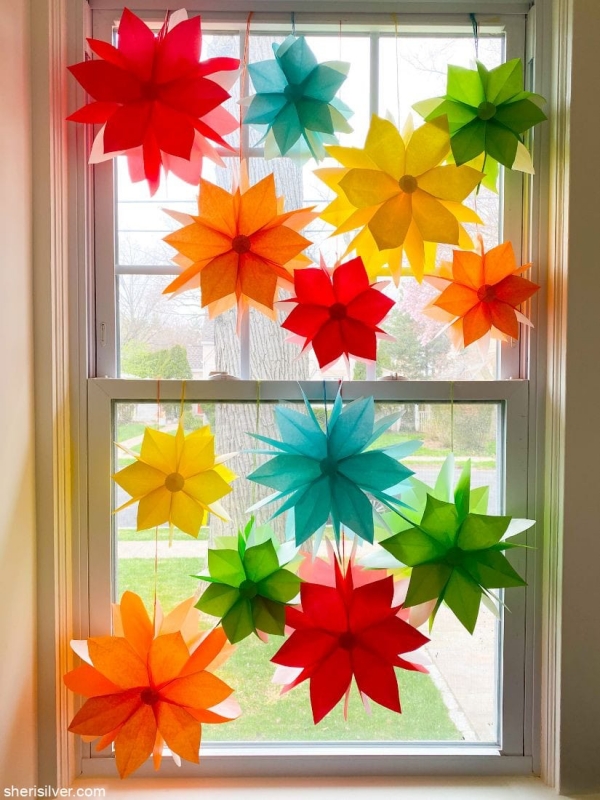
Hot Air Balloon Paper Decorations
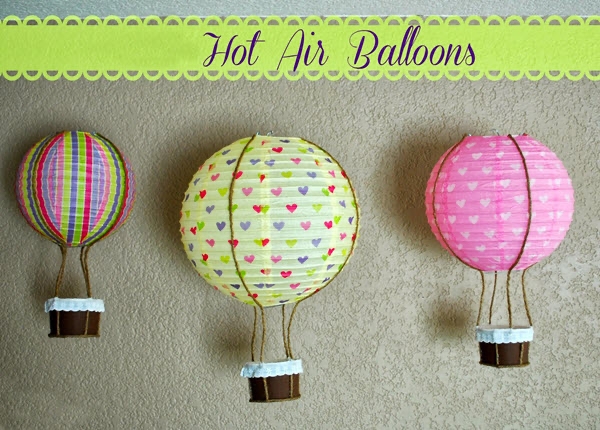
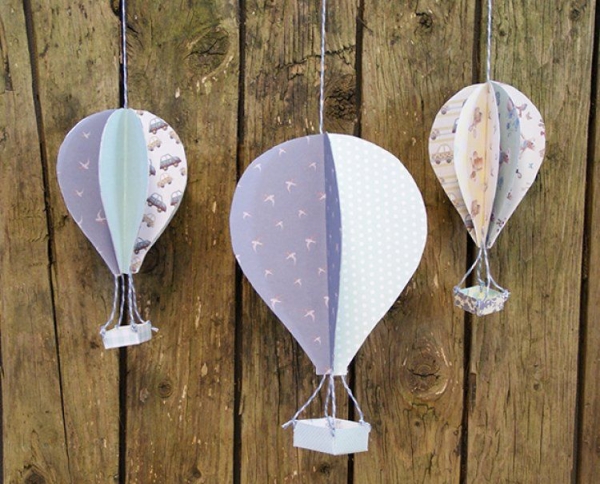
Make this multidimensional décor your own with easy steps starting with a printable template and colorful cardstock. The other simple materials for this project solely include scissors, a glue stick, and your choice between gold glitter, baker’s twine, or monofilament for the finishing touches. The key element of layering pieces of cardstock paper with different color varieties will be sure to meet your satisfaction.
Paper Stars
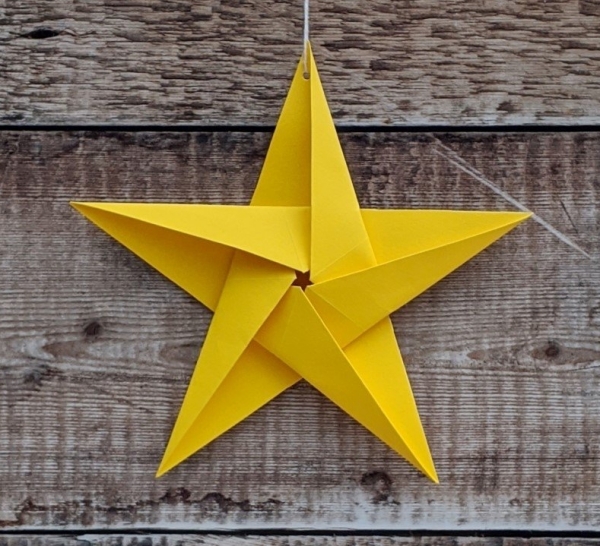
With this creative Handmade Paper Artwork, a shooting star won’t seem too far from reach. Making stars has never been so easy; all you need are scissors and decorative paper for an out-of-this-world creation. Add a fun element to this project by picking out a colorful paper of your choosing. This could include anything from bright pinks to electric yellow shades to let your stars shine bright and catch your attention any time they cross your path.
Paper-Bag Flowers
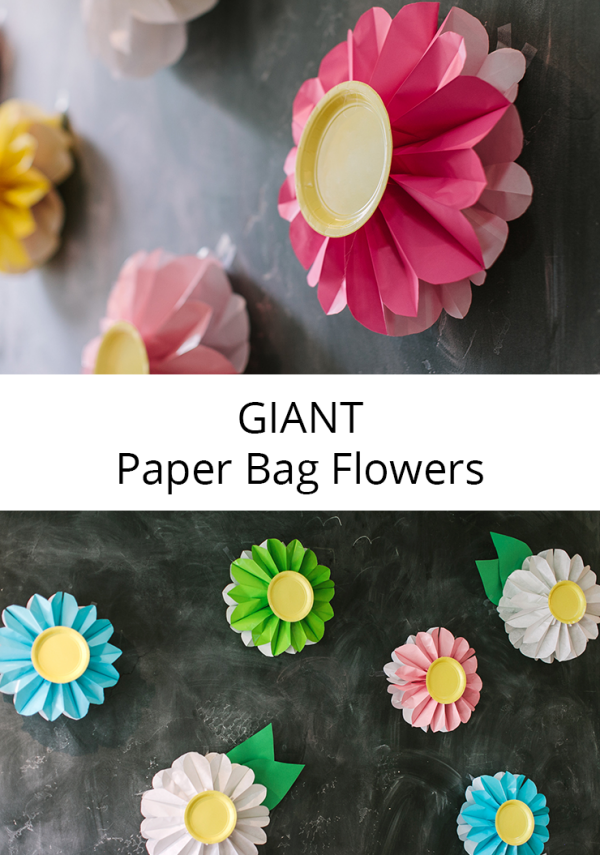
Keep your crafting simple with these decorative paper-bag flowers. You need scissors, a hole punch, double-sided tape, string, and gusseted paper bags of any size to make this craft your own. These flowers can hang from ceilings for a stunning view of the colorful paper crafts.
Paper Origami Containers
These paper origami containers will add a unique element that will make your table settings pop. The Handmade Paper Artwork project will also allow you to put your folding skills to the test. Unlike more intricate projects, this crafting experience can be rather easy.
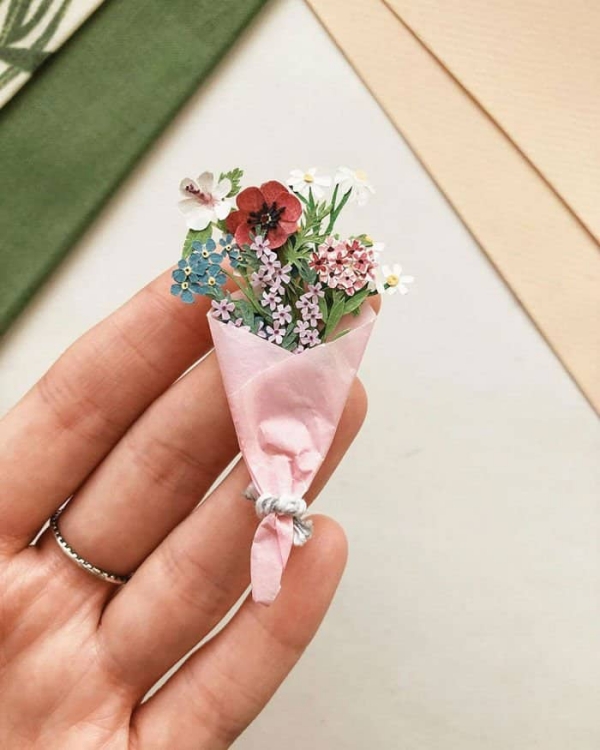
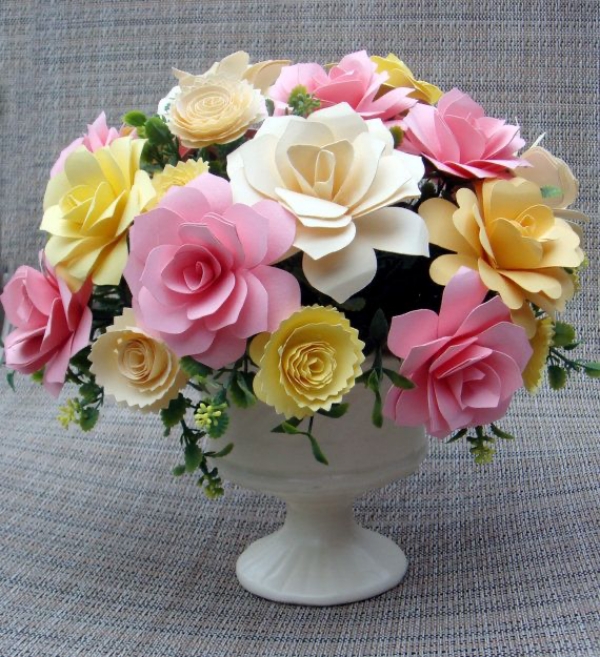
Pretty Paper Flower Bouquet
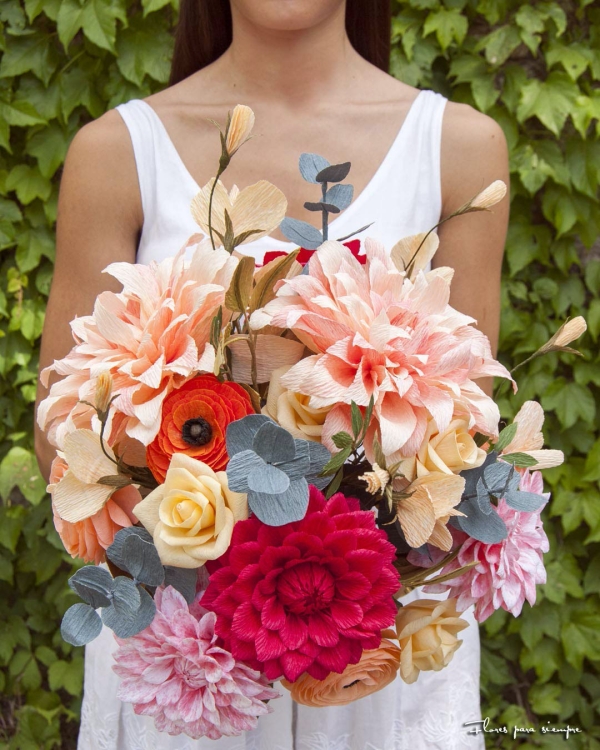
Make a flower bouquet next on your crafting to-do list for a beautiful rendition to a typical arrangement. You can start off by making the ferns. Attach one wire to an adhesive back of fern and secure with hot glue. Cover the wire with floral tape and apply glitter. To make the sticker flowers, use pliers to twist the tip of the wire into a spiral and bend the spiral 90 degrees. Add hot glue to the flower sticker and the platform.
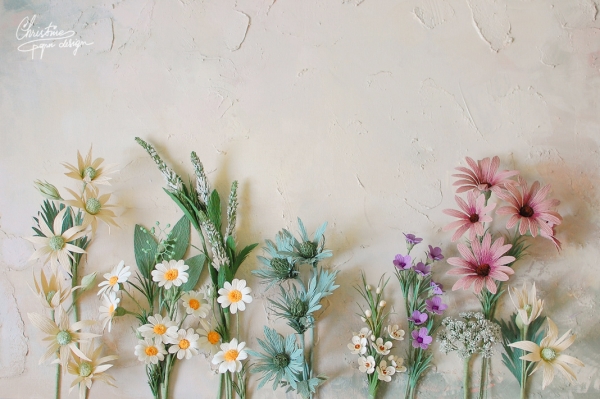
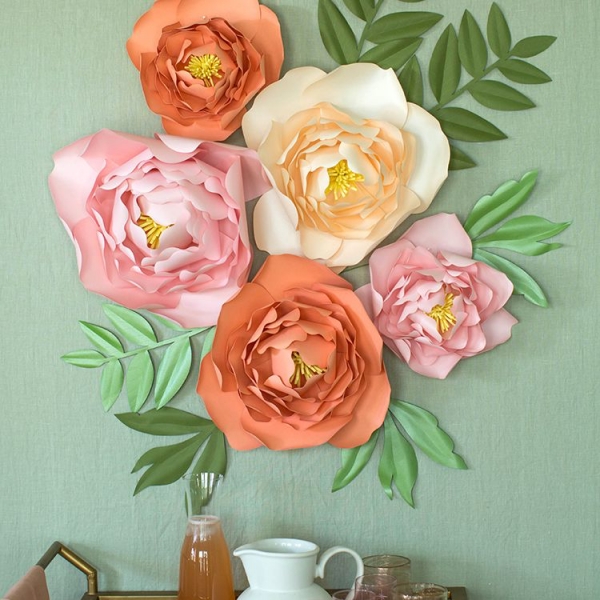
Paper Dogwood Flowers
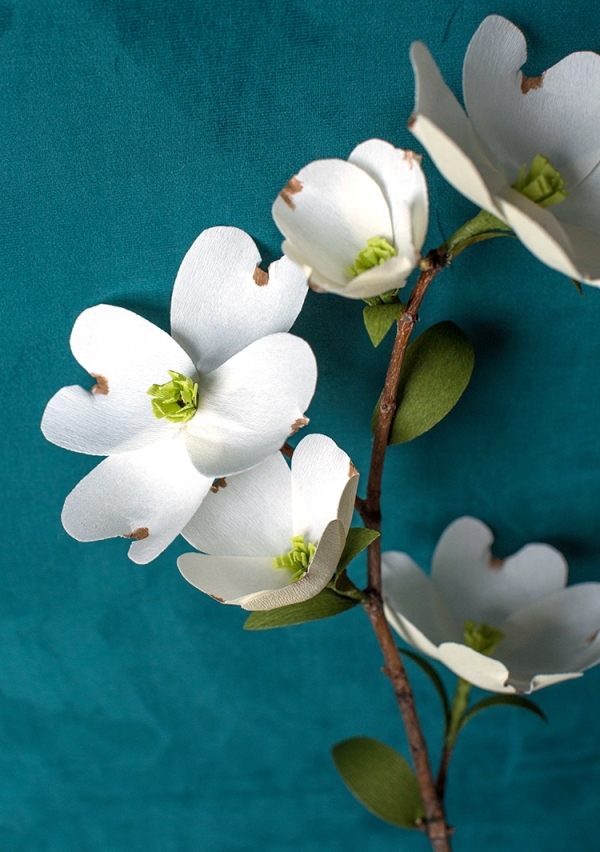
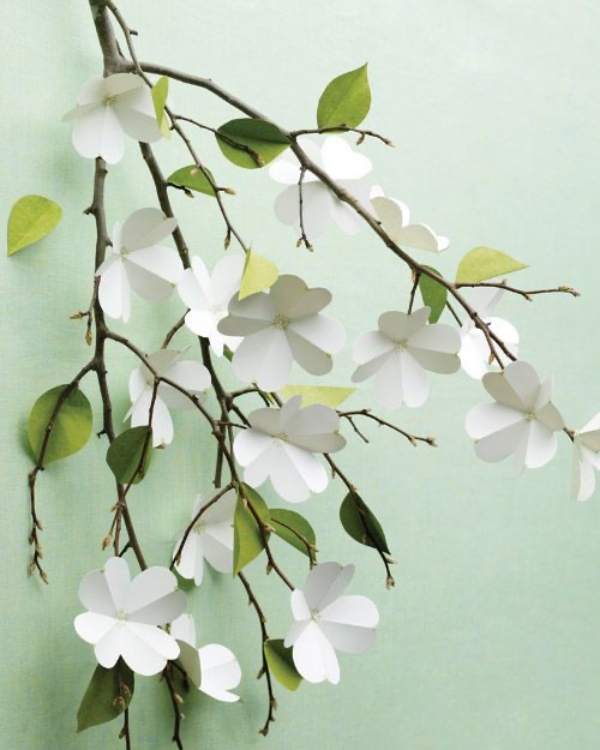
Make these flowers part of your next craft challenge. Start by cutting card stock into five-inch squares. Fold a square in half and then fold in half again. Open square, and crease diagonally, reversing direction of fold; repeat to make another diagonal crease. fold square back up along original creases. Trace petal template onto square. cut out along open edges. Snip off a tiny bit of pointed tip; unfold flower. With an unused pencil eraser and green ink, stamp small marks at indents on each petal. Cut out leaves from green card stock. Secure flowers and leaves to branches with clear craft glue.
Glittered Wallpaper Birds
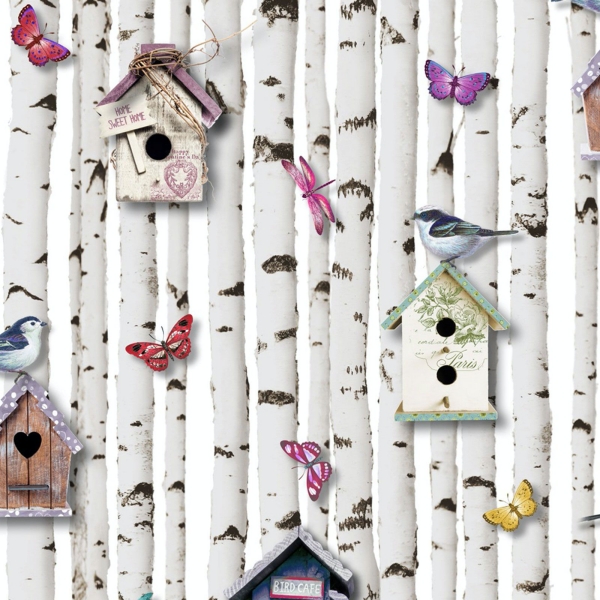
Add a glittery touch to your next papercraft with this Handmade Paper Artwork creation. Cut out bird shape with a craft knife. Using a ballpoint glue pen, apply glue to parts of the bird you’d like to glitter. Sprinkle glitter and shake off excess and edge the entire bird with a gold-paint pen. Print template for base and brace, enlarging or reducing to the same percentage as a bird, required. Trace base and brace that corresponds to bird from template onto mat board. Glue bird onto the base with craft glue and brace onto the back of the bird.
Pretty Paper Forest
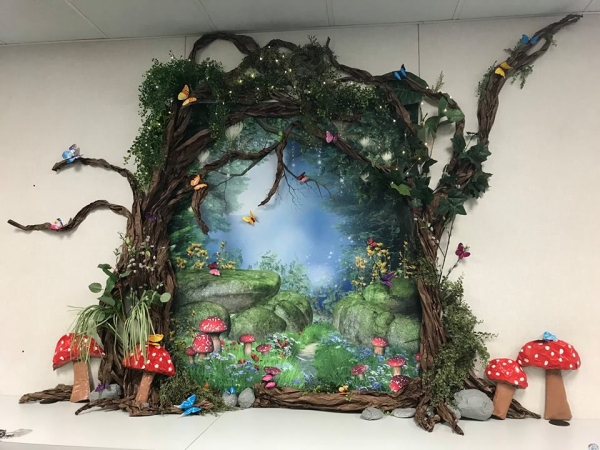
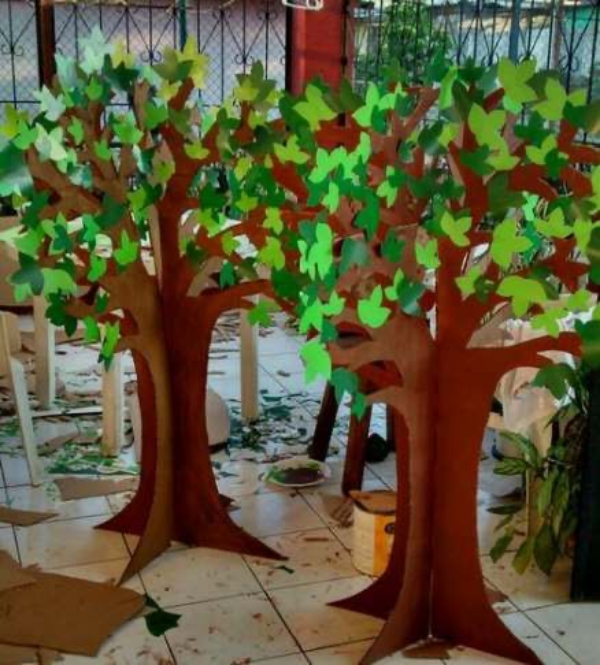
Make the most of this papercraft with eccentric colors for an enchanting forest. Use a craft punch to create paper circles in graduated sizes. Cut the circles in half, roll them into cones, and secure them with double-sided tape. Cut a skewer to accommodate them.
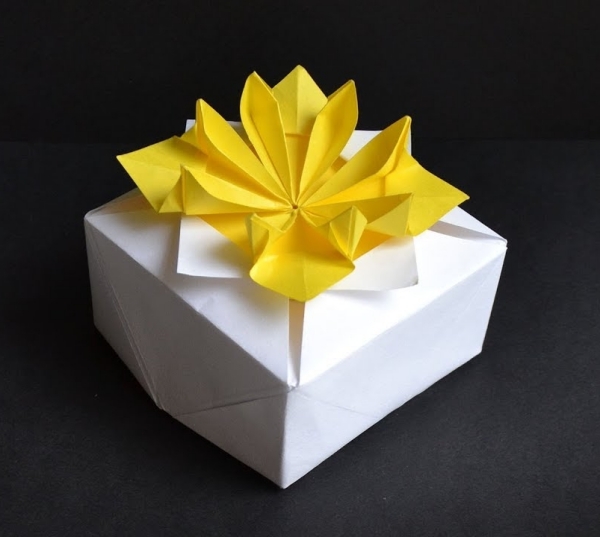
Gorgeous Paper Feather Gift-Box Topper
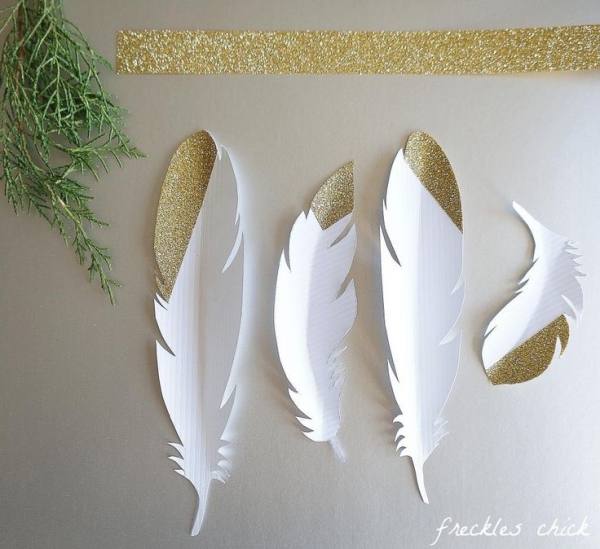
Top off the perfect gift with a unique paper design. Start by cutting a feather shape out of the paper and fold in half. Fringe on each side of the feather with precision scissors. Attach the feather to the gift box with string.
Paper Ship
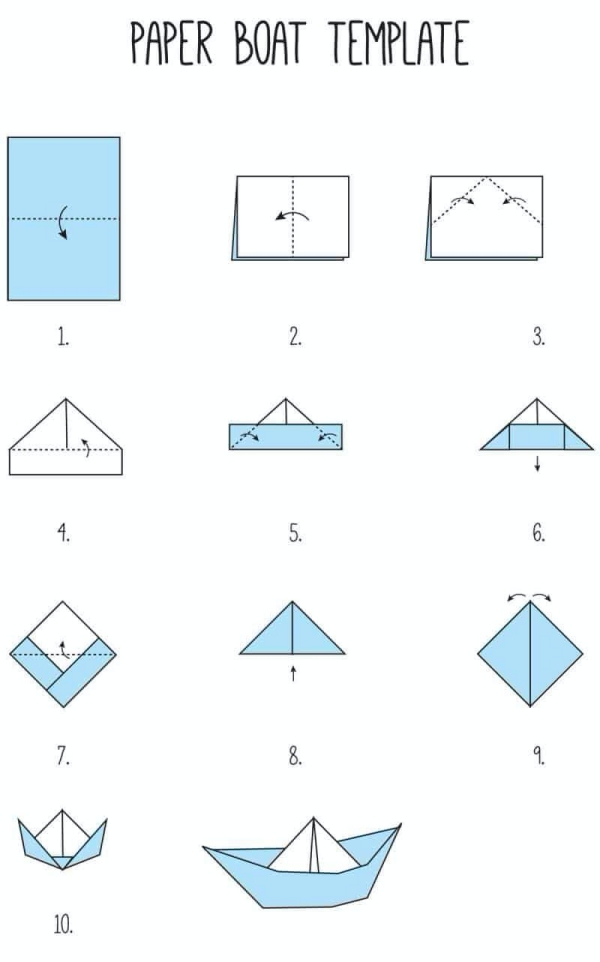
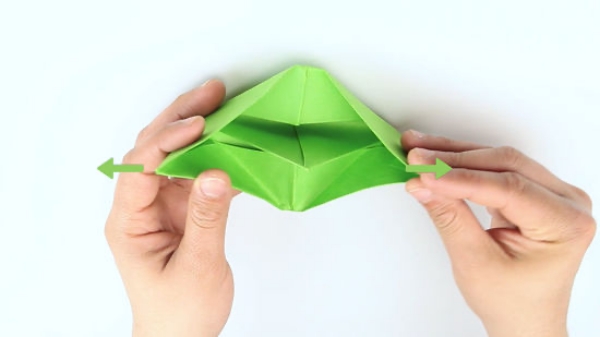
Try out a craft that can set sail. To create, fold butcher paper in half width-wise, with the folded edge away from you. Mark middle of folded edge with a crease. Fold in two top corners of the folded edge to meet at the middle, forming a triangle with a double-layer flap sticking out underneath. Fold the front layer of the flap up to the front; fold the back layer flap up to back. Take hold of the center front and back of the triangle and pull apart, pushing in opposite corners so they lie flat against each other, creating a diamond shape. Fold front and back bottom corners of the diamond up front and back, respectively, to meet at the top corner. (You should now have an open-bottomed triangle.) Pull triangle open, flattening into a diamond as in step four. Pull wings at the top gently apart, forming half of the ship. (You may need to pop up the center and smooth the sides to form the boat.). Snip center of the ship and slip in dowel for mast (use a dab of clay to stick dowel to the table). Cut out square scrapbook-paper sails; make slits in top and bottom, and slide them onto the dowel. Topmast with a scrapbook-paper flag; secure it with double-stick tape. Tie on twine covered in triangular scrapbook-paper flags: Fold scrapbook paper, cut out triangles, and adhere to string with a small dot of glue.
Paper Raindrop Garland
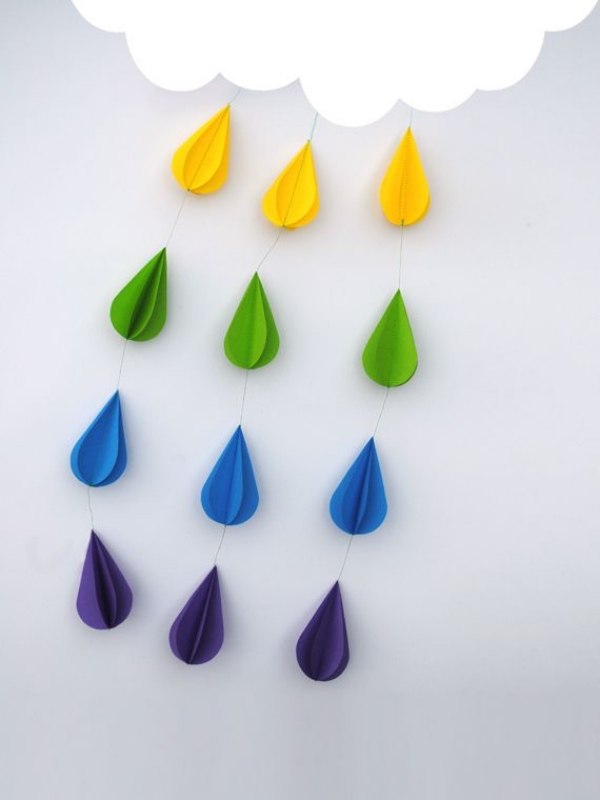
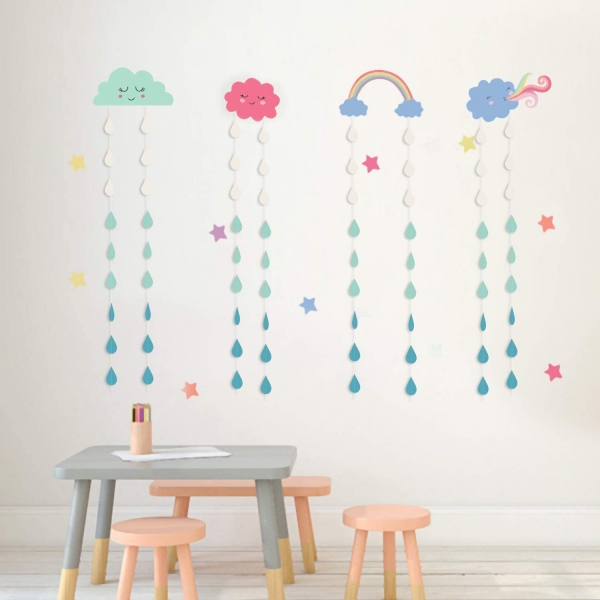
Make this multidimensional craft to get you thinking outside of the box. Begin by printing out a template (one for each raindrop in the garland). Stack five sheets of blue card stock and cut out the template using scissors. Using a pencil and ruler, draw a straight line down the center of stacked raindrop cut-outs. Thread your sewing machine (blue will match the color of paper raindrops). Set your machine on a straight stitch with a long length. Line up a single raindrop bottom-end first under the needle and machine-stitch along the drawn line, continuing to sew for spacing between raindrops; repeat this step until you have a complete garland of raindrops. Once you have reached the desired length, snip with scissors and knot the end.
Paper Cut Luminaries
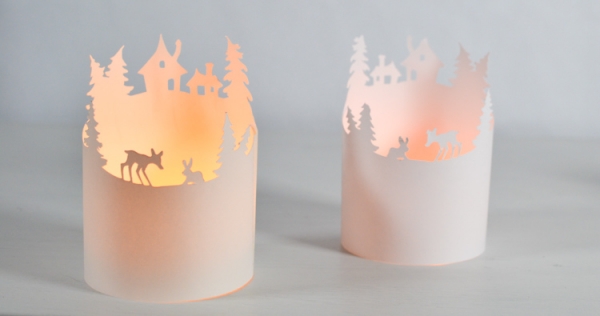

Add some ambiance lighting with this Handmade Paper Artwork decoration. To make one, cut two small pillow box templates on a cutting mat using the pillow gift box tool. Using the paper punch make two designs out of each of the longer sides of the template and gently fold the scored bottom and top tabs, and long edges. Assemble the luminary by double-stick taping the tabs together to form a four-sided box. Finally, place LED tea light and display.
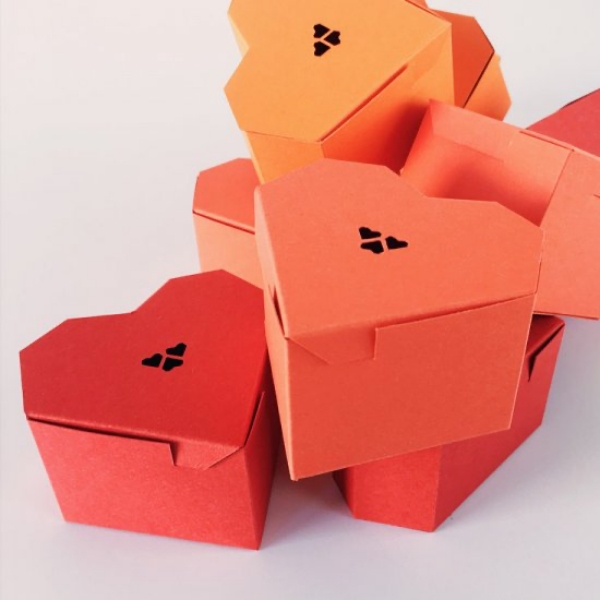
DIY Paper Pie-Slice Boxes
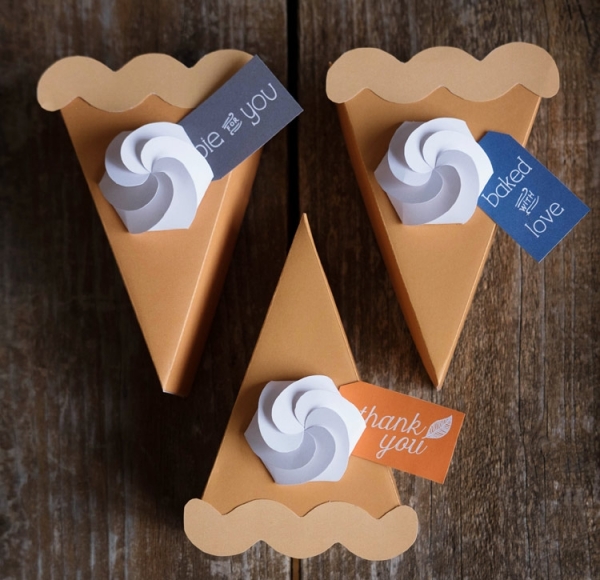
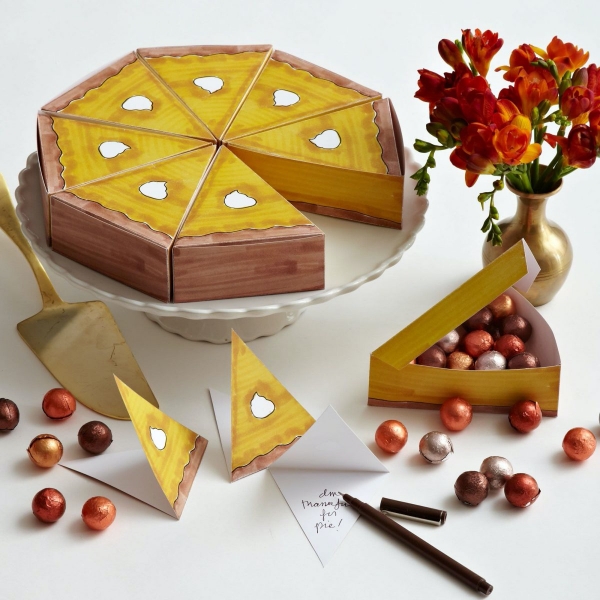
Take a creative approach to package for your next convections. To start, follow template instructions for cutting, and align edges of pie box to the left side of the Mini Scoring Board. Align tabs and score as well. Punch along the top and sides of the box with the Edge Punch. Form box and adhere sides together with double-sided tape. To make the tag, punch the full shape from off-white paper. Then punch an outer ring from craft paper. Glue the two pieces together.