Making DIY projects at home is a great idea to hang up. But taking out such beautiful ideas from mind is always not possible. We all people are not so creative that we can make out DIY creative projects every time we want to. But for that we can just surf through the internet and find out some beautiful DIY projects originally made by others. There is nothing wrong in that as there are various articles published by the authors on their own. Better to say the pleasure of seeing others making your own idea is great in that sense. And now we have come up with a really interesting project today in this article. We all have unused t-shirts at our home lying here and there. But instead of lying if it comes in some use then it’s obviously a solution. Let’s read about an amazing way to reuse your t-shirt.
How To Make a Braided Rugs With old T-Shirts
To make this throughout project you will need some basic things that we are giving in a list form:
Old t-shirts or fine cotton knits. (The more unused t-shirt you have the bigger your rug will be)
Scissors
A peg
Sewing machine and in addition general sewing supplies.
Non-slip rug underlay
Procedure:
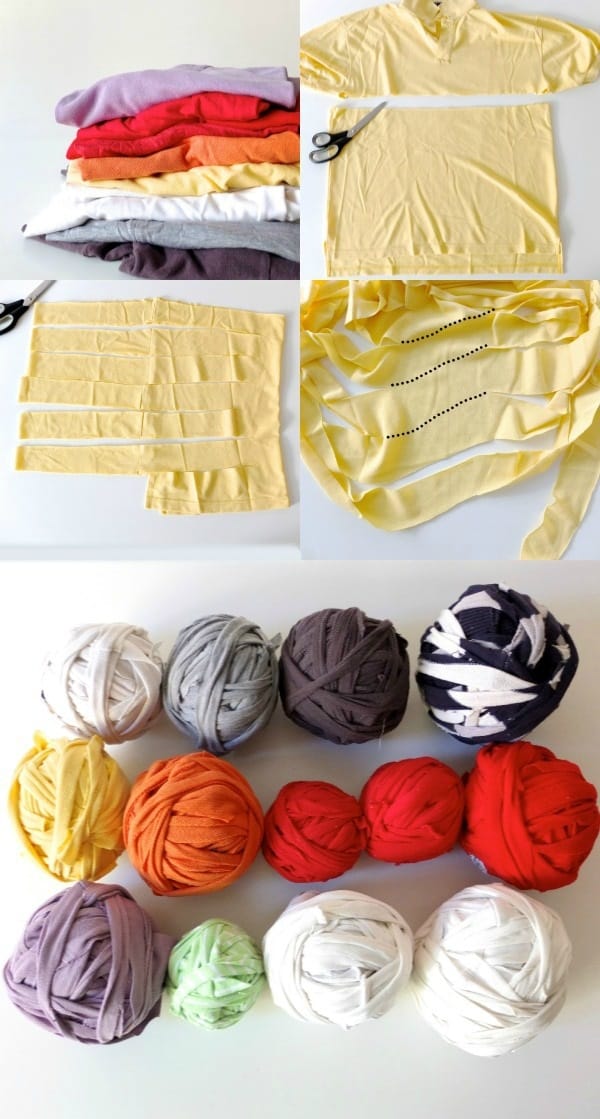
First of all, cut a t-shirt into two halves. Don’t think a lot of measuring as it doesn’t needs exact measure. Now cut the t-shirt into 2” strips. If you are mixing various types of knits, then cut out the thinner knits into wider strips. Now after the cutting process is complete, roll out the full yarn into balls. Remember to make each ball with each single t-shirt. That means if you are using 5 t-shirts, then you will be making 5 balls of yarn.
Now the thing you have to do is work on the yarn just like you would braid a plate of hair. But it completely depends on you as you are going to sew each braid during the process or sew finally after completing the full braid. But we say that if you are a beginner then go along sewing as you make the braid. It will take some evening in front of your T.V when you are going to make it. To change the color, you can either sew your strips, or use the no sew option and that completely depends on what seems comfortable to you.
Try to think about your finished product and how it will look. Now choosing the color is very essential if you want to make it very attractive. The more bright colors you will choose, the more attractive your project will be. But some people don’t give their mind on these topics. This is because they want their project to be done finally and nothing about the colors.
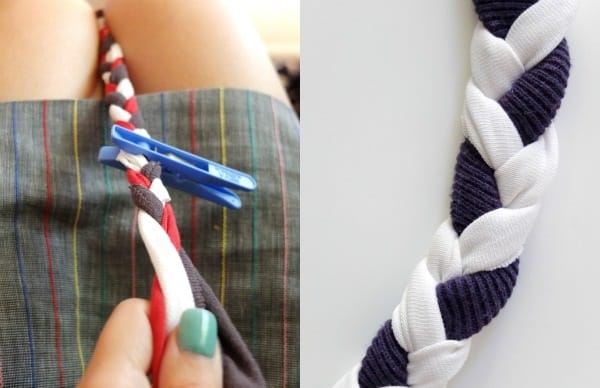
The best tip to braiding is holding the braid between your knees and fasten the end with a peg. As you work on your braid, move the peg down to keep the braid nice and firm. For some people braiding may be the most boring work here and for some it may be the most interesting part. Even some feel it very therapeutic.
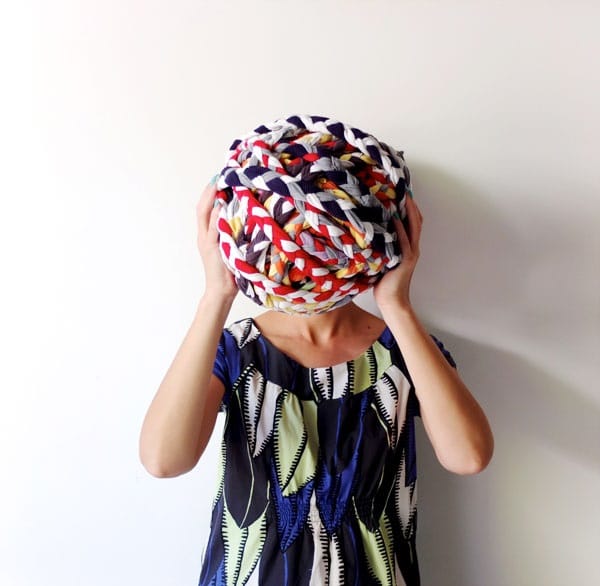
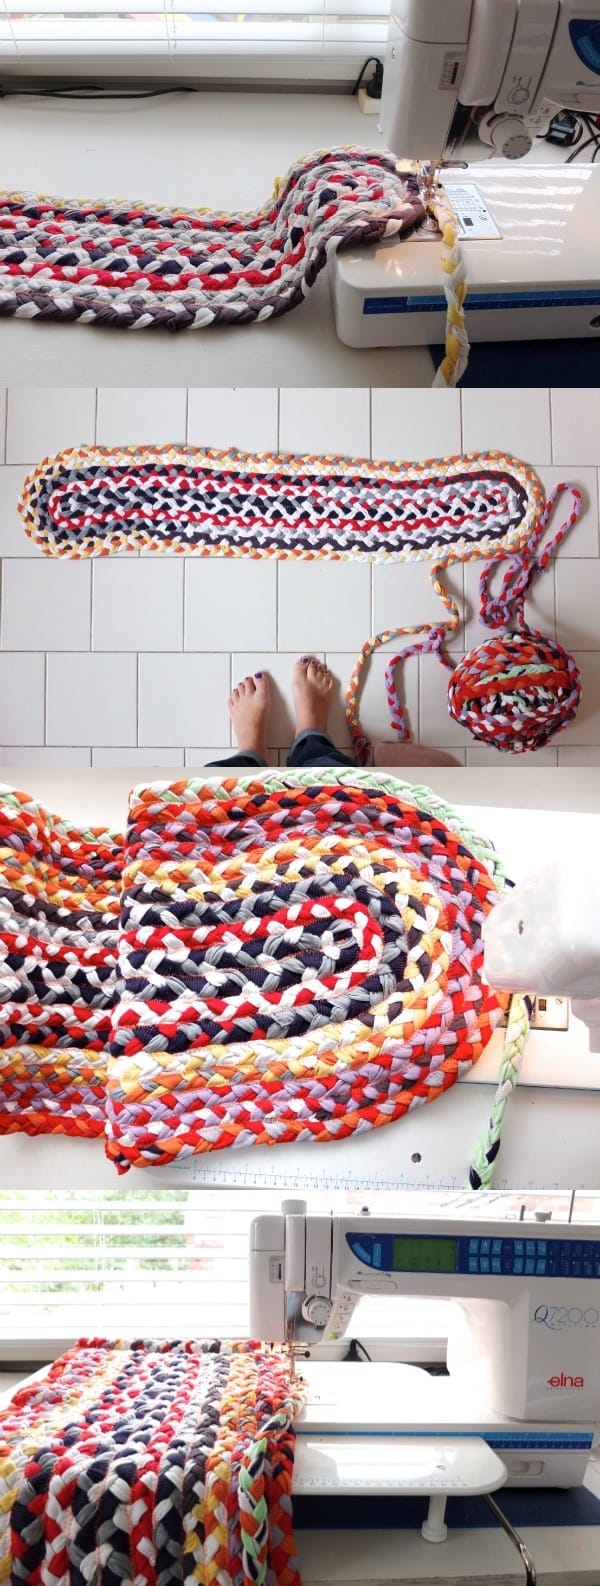
Now once if you have completed with making the braid finally, again make a big ball from the total braids. Here it is how it will look like.
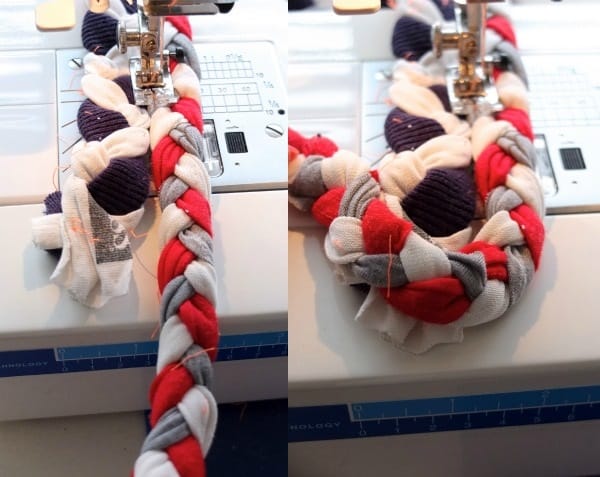
Now when you are going to sew the rug, you should be careful about the direction of how you lay out the braid. To avoid mistakes, follow the below image and how it shown here.

On the left here is the wrong way mentioned in which we are taking anti-clockwise direction. Don’t follow this and so we have mentioned a cross mark. But on the right you will find the clockwise style of the braid which is very logical and we suggest everyone to go by that. Now you will have to decide depending on the general shape and length of your work and there start sewing where the arrow is pointing. Use the zigzag stitch to ensure the strong stitch and medium stitch length is fine. Push together the edges of the braid and when you get to the end, loop the braid around tucking the start of the braid underneath. Continue the sewing around and around.
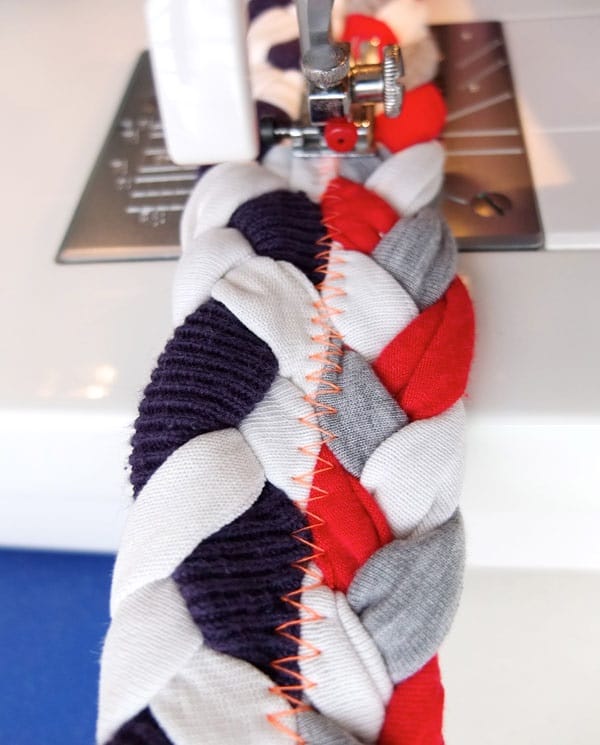
Here is how your actual stitching will look like. See the stitch. It’s purely zigzag. Try to maintain this to avoid any types of mess afterwards.
Once you get the outline idea of handling the project, the rug will be prepared very quickly and with in a very short time.
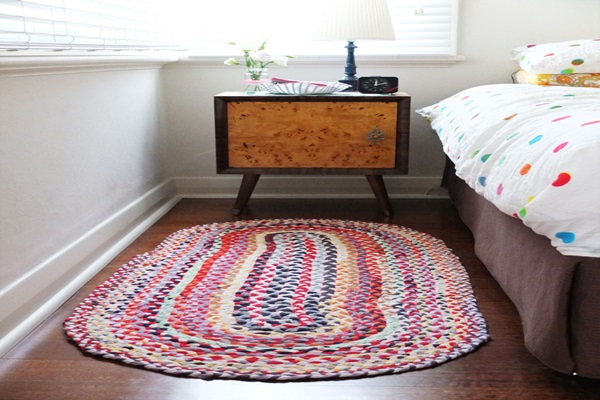
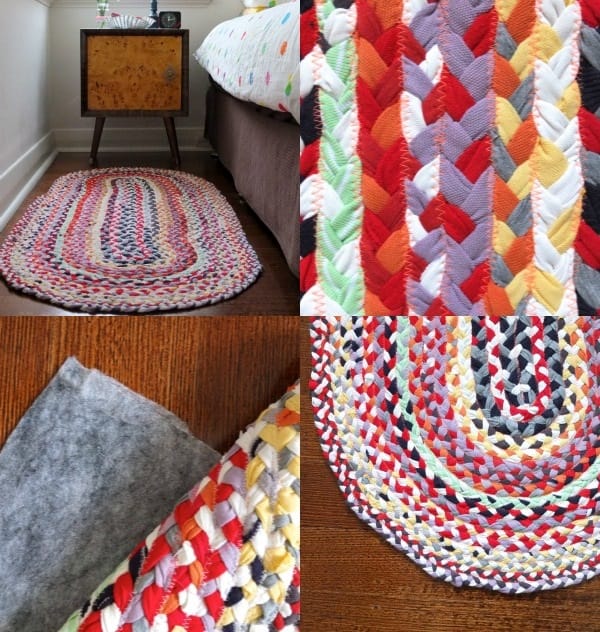
If you have an extended table around your sewing machine now it’s the time to use it. You will find that the end of the braid is left and sew it for few times in different directions for making the end strong. After doing this, stick out the non-slip rug underneath so that it doesn’t slips on the floor. Now here is the finished rug you can see in the picture below.
Now you are complete with the project and hardly had it cost anything to you. Without any expense you will be getting such a beautiful and creative item in your home.