Calligraphy is a very interesting part of visual art and a very creative hobby for some people. This article is actually written for the sake of beginners in this field who are looking forward to be a professional calligrapher in future. We have collected various useful tips and techniques for beginner calligraphers in this article. It is also sure to say that anyone can get useful information and facts related to this topic by reading this full article here. So at first we will start with the meaning of the term calligraphy.
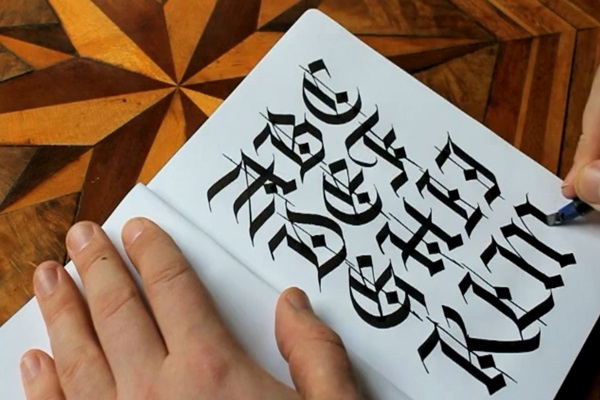
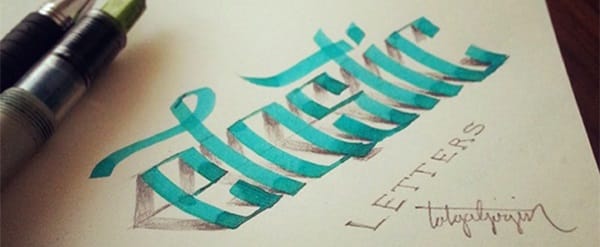
It is actually a visual art related to writing. It is nothing but a process of designing and execution of lettering with a range of instruments. But you should know that calligraphy is quite different from typography. Calligraphy is used in various purposes like graphic designing, film and televisions, testimonials, birth and death certificates, maps and other works.

How to Write Calligraphy : Tips and Techniques
Now we want to come to the technical part without wasting any more time. The most important part of calligraphy is knowing your lines and marking your grids.
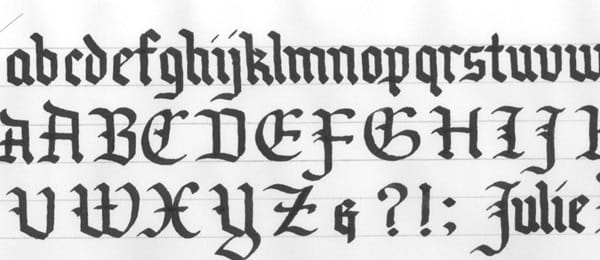
Baseline: This is the basic line of calligraphy, also known as writing line or the line on which all the letters sits. It grounds all the letters and helps us to depend on it.
Waistline: this line is situated just above the base line. The body of the lower case letters sits between this waistline and baseline.
Ascending Line: This the line for ascending letters except ‘t’. This ascending line keeps all the ascending letters related to one another in terms of height.
Descending Line: All the descending letters depends on this descending line. It works similar to the ascending line and is very important.
Capital: This is mainly situated between the waist line and ascending line. Although this will take some time for you to understand, so now we should progress towards some other matters.
The gaps between all these lines are measured with nibs.
Now we are moving to ten Insights that you should consider while calligraphy.
1. First it is necessary to comfort yourself while doing these works. You should have a comfortable chair, good light, conscious posture etc to keep yourself comfortable from all sides. Otherwise it will be hard to enjoy the work.
2. Broad edge tools, markers, fountain pens, brushes, quills, staff with insertable nibs, reeds, all are important in the work. So before stepping into calligraphy you should have all these equipments ready with you.
3. In Calligraphy, the thumb and the first finger are considered as the grippers and the middle finger is considered as the resting finger. The staff of the pen should rest between the first two knuckles and holding the pen should be comfortable.
4. Inks are of huge variety. You can use any type of inks as it actually depends on your choice. The most favorite for calligraphers are water soluble ink.
5. Be very choosy about papers. The papers with cotton content are very good for crispy writing. For practice you can go with notebook papers and there are other various papers available for the calligraphers.
6. Always practice playing with the calligraphy equipments. Actually this will increase your fluency with the instruments. After all it is very necessary to know your pen and its characteristics.
7. While practicing, be careful about maintaining margins. If you are using notebook paper, never cross the red line. And always try to leave some white space around your work. This is just a rule of work and so we should maintain it.
Now some short tips for Beginner Calligraphers:
1. When you are ready to write, notice that there is a guard sheet under your hand. Actually this keeps the paper safe from catching the oils from your hand. Make a habit of using such guard sheets.
2. Find out the write pressure you need. You should always hold your pen comfortably, don’t put too much pressure on the pen and paper.
3. Be very patient while working and don’t engage yourself in any other work while doing this. It may take away all your transaction. Be slow and steady never hurry about these works everything will mess up.
4. Place the nib horizontally to the writing line of your paper. Make a vertical downward stroke holding the nib flat to the paper. Now see the line, this is the maximum width of your nib and now again return to the starting position and if you pull the nib horizontally from left to right you will see the thinnest horizontal stroke. Practice this several times; it will help you to get the weight of your nib.
5. Now place the nib in a position 90 degree angle from the writing line in the paper. Now when you pull the nib towards your body in this angle, you will get the thinnest down stroke of your nib. So this is also an important practice for the beginner calligraphers.

Probably this article was very helpful for all the beginners in the field of calligraphy. And now when you will start doing calligraphy, keep all the above tips and techniques in mind. If this article does help you, it is our pleasure to serve you all with all our efforts.