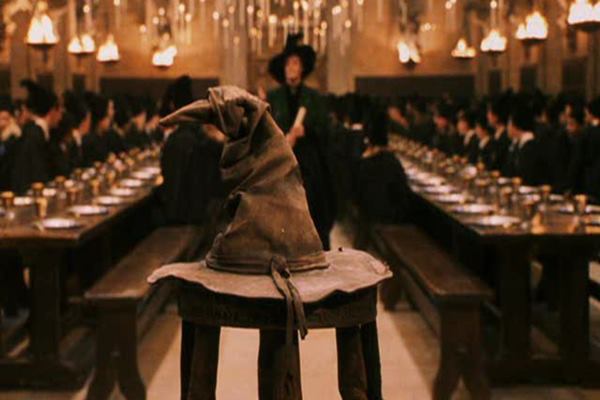
Today we have come up with an article, which is mainly related to the kids. If you have heard about Harry Potter, you probably know the craze of this fiction series all over the world, especially among the kids and teens. But the thing is that the character Harry Potter is loved by everyone, and is there any Harry Potter lover who doesn’t want to look like Harry Potter in a ‘Go as you like’ party. Yes, it’s hard to find. So we have decided ultimately to come up with an article, which will help you all to make a Hogwarts Hat that makes Harry Potter more attractive. Learn making the Hogwarts Sorting Hat in easy steps.
So first of all you will have to arrange for all the supplies, which will be needed to make a Hogwarts hat. Be sure that you have some knowledge before making out this beautiful hat project. So now, it’s time to go with the things that are mostly essential.
How to Make Hogwarts sorting Hat:
Supplies:
1. Newspaper
2. Flour
3. Water
4. Cardboard or Cereal Boxes
5. 2 Shades of Brown Paint (One Light and One Dark)
6. Paint Brush
7. Masking Tape
So now, once you have all the things with you, you can start the project as it is very easy to make and you will need just some hours to complete it out. Here we have made the tutorial in step by step procedure with proper image that will make the procedure more easier for you to understand. So be patient and start concentrating on it and you will be getting a beautiful object made from you.
Step-1:
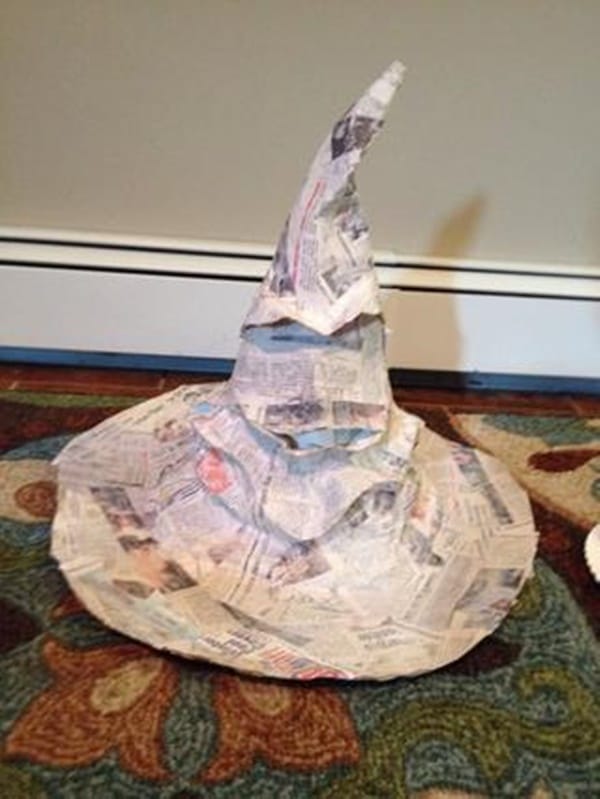
Take the cardboard and cut it to make a circle with a hole in the middle of it. This hole will make the hat sit on your head. Now use the cereal boxes to make a cone shaped top of the hat. Now you will have to cut some pieces in the conical structure for making the eyebrows and mouth, which you find in the Hogwarts hat. Now attach the cardboard piece and the conical structure together with tape to make a hat like base structure. You can see the image how it will look like after you make the same thing.

Step-2:
Firstly, make a mixture of flour and water in a container and keep it near you. Now, take some strips of newspaper and the mixture of flour and water to make a paper mache of your hat. While making the thing, you should be sure that the hat is totally covered and no part of the base structure is being seen. Now keep the whole thing aside and let it dry for 24 hours.
Step-3:
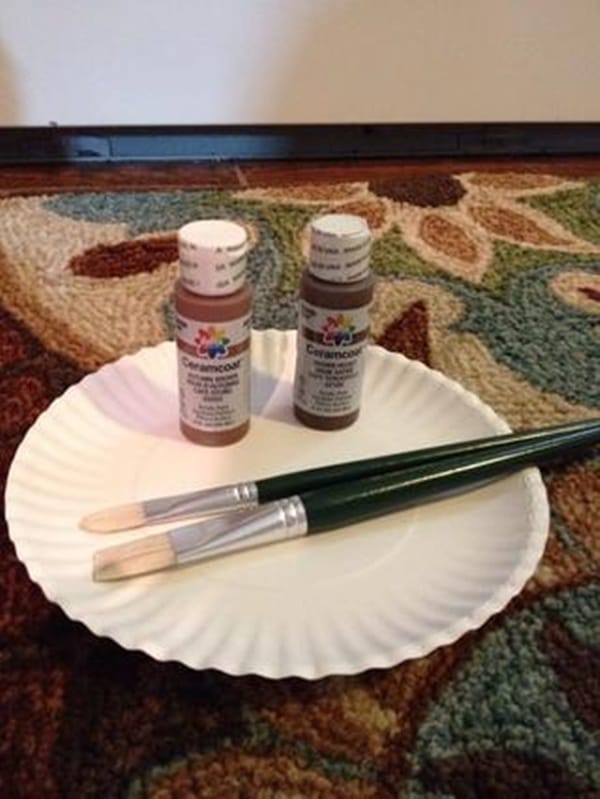
Now take a palette in which you can mix up the colors you will be painting. As we have said earlier that you will need to shades of brown color, one is light and the other is dark. So take the brush and paint and mix the color with water to paint.
Step-4:
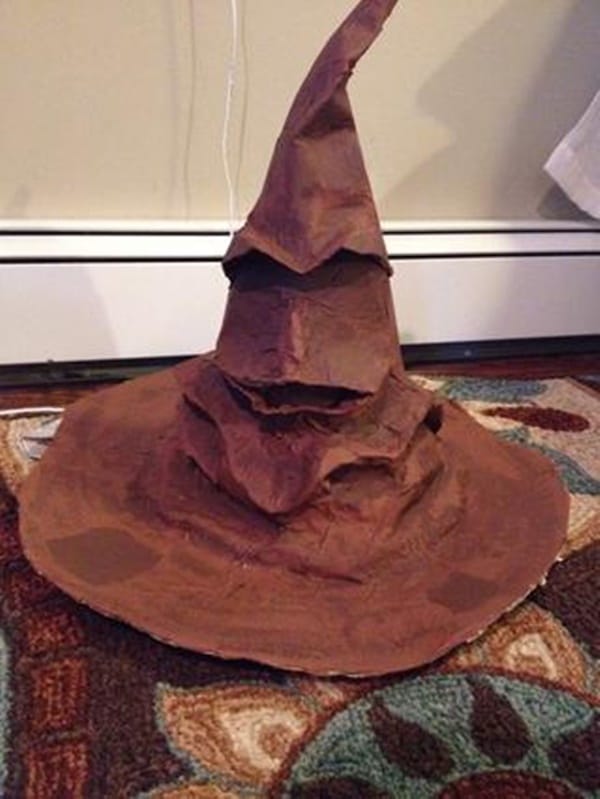
Use the lighter shade of the paint to color the whole hat. Once you have finished coloring the complete hat, let it dry for some hours. Now take the darker shade and use it for detailing, such as the folds, to make the cap more interesting. Again, keep it aside to get dry.
Congrats! You have completed making the Hogwarts Hat and now it’s time to use it. You should be proud of yourself that you made a hat in such a less time and with some minimal items, which are almost available in every home. What can be more interesting than this? So now, you can use it for a party. You have really liked this tutorial don’t forget to share it with our friends, so that they can also make it like you. So it’s Halloween time and you should not forget anymore time.