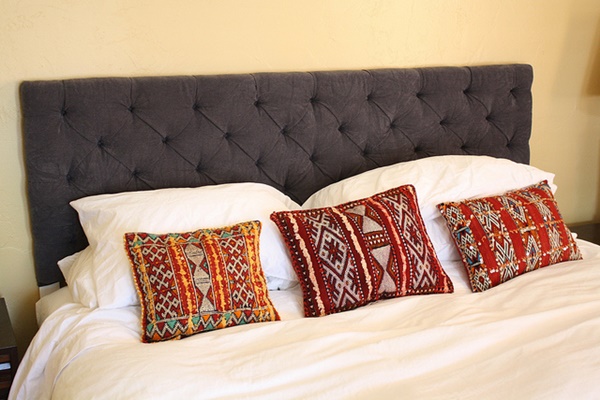
Bedroom is always a special place in our home. But thinking of the some bedroom decoration ideas, the first thing that will strike our mind is the bed. Bed is the most important thing in our bedroom and all the decorations are based on that. But when you talk about different types of bed, we also think about it headboards. Headboard is a part of a bed which is actually remains on the side where we keep our head. Normally these headboards are of different types and to make your bedroom more and more attractive the headboards plays an important role.
DIY Button Tufted Headboard Tutorial:
You can get a lot of headboard ideas all over the internet, but actually you will hardly find some article that is useful to make out a beautiful headboard on your own. Yes you may be looking for some good ideas that will help you in making up a headboard on your own and so something very useful is needed. This tutorial is actually an interesting one that will guide you easily even if you are a beginner. So without wasting any more time, let’s move on to make out a beautiful headboard for your bed.
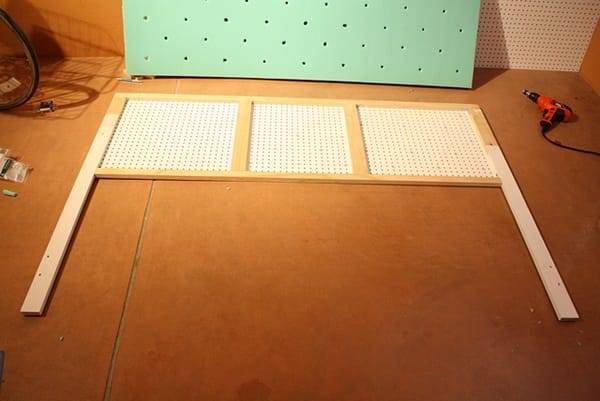
So before making up an ideal headboard you will have to know the measurement of your bed so that you can also make the headboard according to that measurement. So first of all you will need some essential items that will help you to make the headboard. Like the base material you will be choosing is a pegboard. You can also use ply board but actually ply board will make the headboard a bit heavier than the pegboard. Again a great advantage for pegboard is that you will not have to make any holes additionally as pegboard already contains holes in it. So it will be easier to the fabric to it and you will able to save a lot of time.
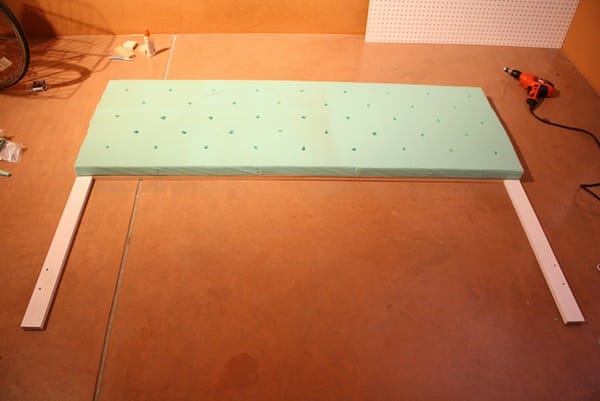
Here the measurement of the headboard we are working with is 6 ft long. So for that we needed 2.5 yards of chenille fabric. Remember you will be not covering the legs of the headboard with fabric so don’t calculate it. Use paints to cover up the legs of the headboard. Bring a wall color paint that matches with the fabric color you are choosing. So now fix foam of the same measurement of the headboard. Now chart out 5 rows of button spacing 3 of 9 buttons and 2 of 8 buttons. You can add more or less depending on the size of your headboard. Here we have used a metal broom handle to punch out ½” tunnels through the foam.
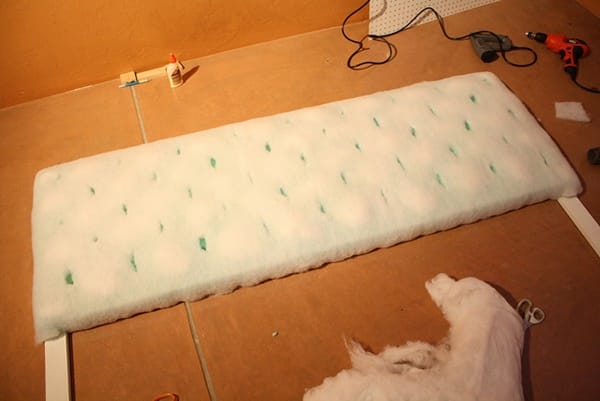
Now arrange for some fiber fill which you can also take out from an old unused pillow. Though it will not make a huge difference but for sure it will look nice and will be very comfortable when you use it.
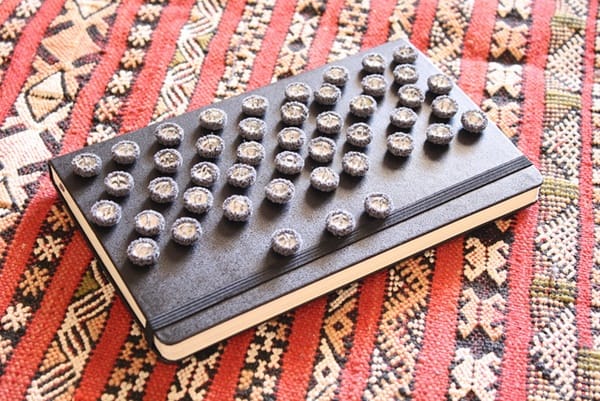
So now your next work is to prepare the covered buttons that will stick to the headboard. Actually you will be facing some bit of problems as it will be hard to stick such a thick fabric on small buttons. So bring a good glue that can fix the fabric in the buttons easily and save some of your time in this process.
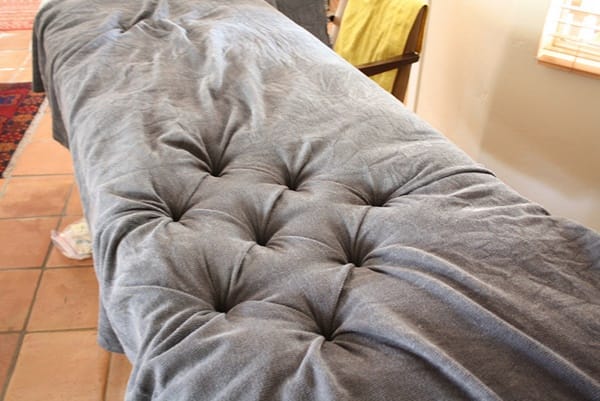
So now you will have to start fixing the buttons above the fabric in the headboard. You have already made the rows where you will fix the buttons so it will not be hard for you to find the exact holes. But remember while fixing the buttons your fabric should get the perfect tension needed make the design. Its better that you start from the middle of the headboard and then move towards both the sides. First of all you make face some troubles as you will be doing it for the first time but slowly when you will precede the work will become easier for you to figure out the rest.
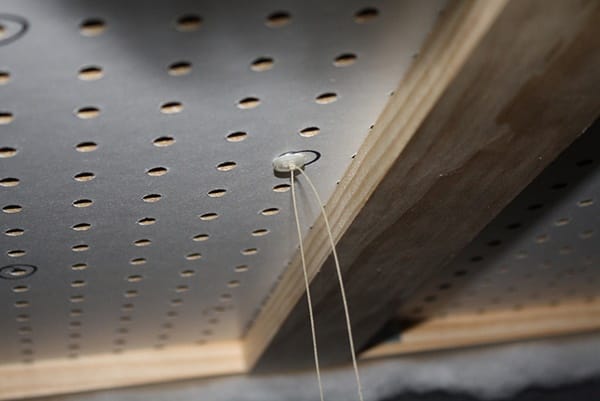
So now you will have to end up by tying it backwards with waxed buttons. The waxed buttons will play a good role in securing the thread at the back of the headboard and will also hold the perfect tension needed for the headboard designing.
For the ease of your work, keep the headboard above four chairs and this will allow you to work over and under the board easily.
So now when you are finished with fixing the buttons, attach the whole headboard to the bed frame with the help of carriage bolts. And now you are finished with the complete project.
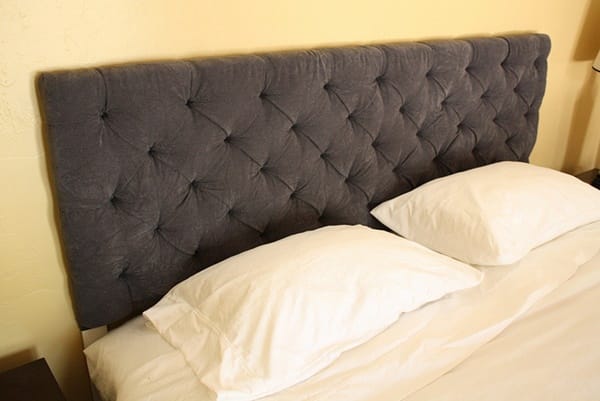
So now you can easily understand how easy is to make a headboard for your bed. So you don’t need to buy one for yourself instead just spend some time and make out your own thing with your own hands. You will hardly need a week to make out the full project.