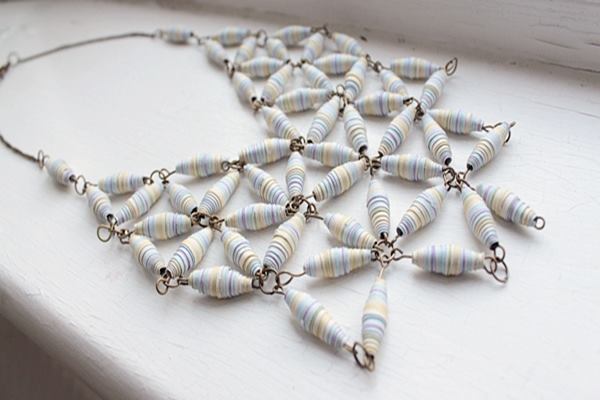
Have some spare time and want to indulge yourself in some interesting DIY projects? Why not try making some paper beads for jewelry making? Paper beads are easy to make and the best part is that you can make them with anything you want. Any paper starting from newspaper, magazines or any other types of paper will do. Paper beads are inexpensive and fun to make and it recycles used papers so you are also treating your environment well by indulging into some quirky paper bead making. So let’s learn together how to make paper beads for jewelry making. At first, we will be going through some useful tutorials about how to make these beads and then we will see how to use those paper beads for jewelry making. So let’s just start.
How to make paper beads:
Paper beads can be made out of patterned paper or you can use your own designed paper for this purpose. You can also mix and match with shape and style. They can be of conical, cylindrical or oval according to your choice. You need to experiment a bit with the thickness and length of the paper so that you can get the exact think you want. After you are done making them add some glitter or sparkle to their body to give them a perfect finish.
Things you need:
Downloaded and Printed ½ inch Bead Template
Bead Roller (metal dowel/straw/toothpick/bamboo skewer)
Scissors
Glue (Mod Podge from any local market)
Wax paper
Procedure to make Oval Beads:
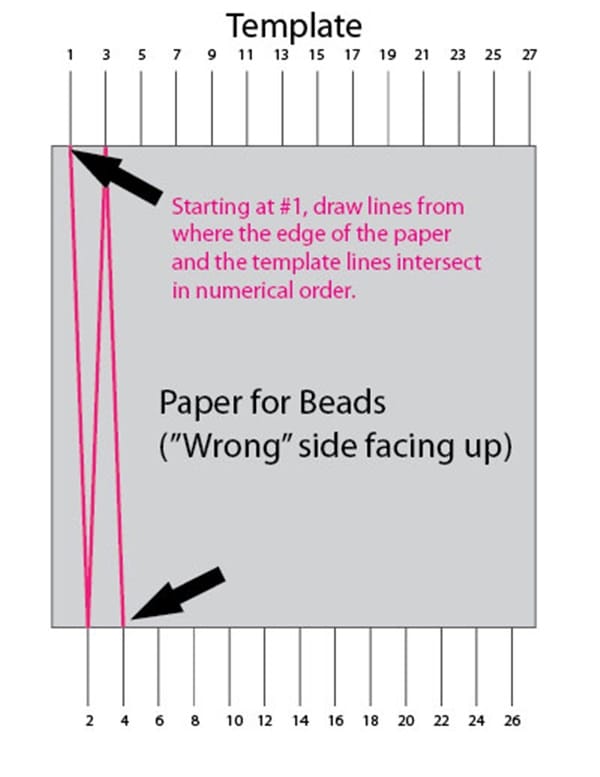
1. At first get the template and position your patterned paper on the paper (the wrong side should on the top). Make sure that your paper is at the center of the template.
2. The template has some straight lines which you have to join carefully so that long triangles are made properly. (If you wish you can draw your own triangles without taking help of the templates. In that case, for 1-inch thick bead you need to draw triangle of 1 inch by 4 inches)
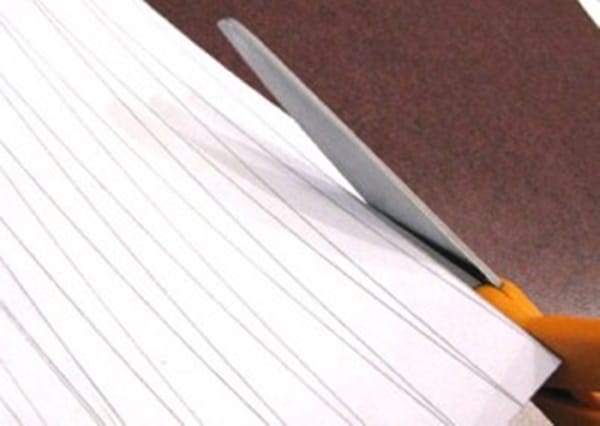
3. After you have drawn the triangles this the time for some scissors work. Cut along the edge of the triangle to get your beads. (The right and left parts of the paper need to be discarded as they are not of triangular shapes.) Remember the longer the triangles are the thicker the beads will become.
4. Now apply the glue on the triangle keeping the designed/patterned side down. Keep in mind that you have to apply glue starting about 2 inches from the base.
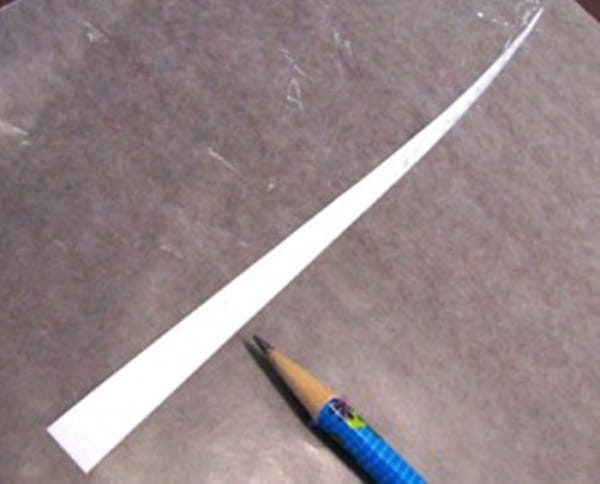
5. Now put your roller on the paper at 1-inch distance from the base and fold the paper to add a drop of glue on the base edge of the triangle
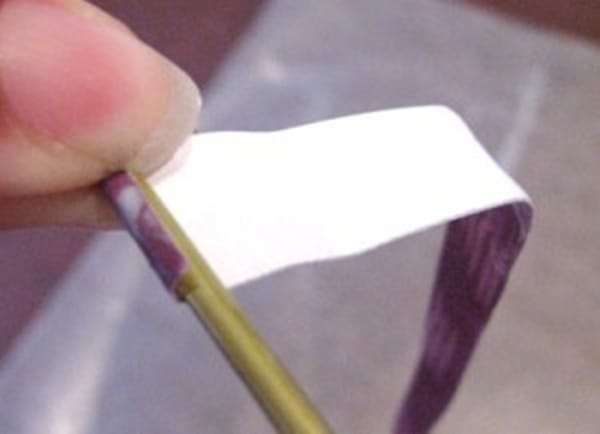
6. Slide the base so that it is approximately lined up with the roller.
7. Now start the rolling game. Keep in mind that the end is glued properly under the paper.
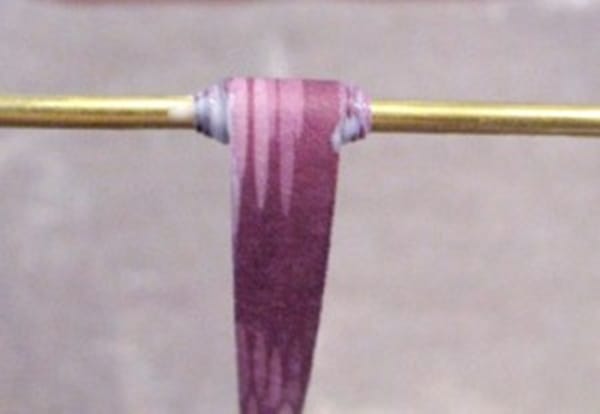
8. Keep on rolling until the end and make sure that the whole paper thingy is centered. It will give you the proper desired bead shape. Roll tightly. Lastly, add some glue to the tip of the triangle and your press it. If you want a free look then keep the paper slightly off-centered.
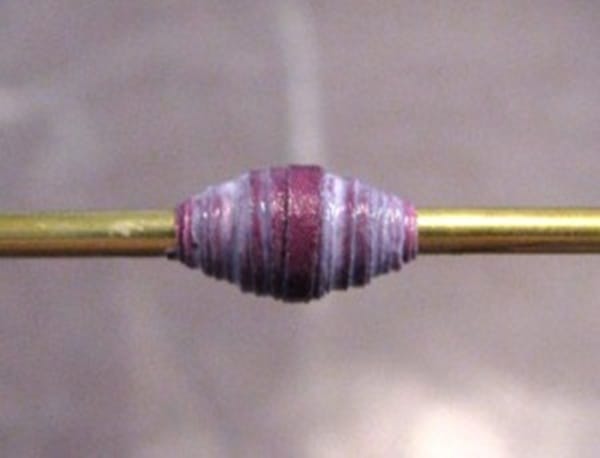
9. After you are done making the bead, you need to add some Marvin Medium or Mod Podge or any solution (1 part clear drying glue and 2 parts water). Let it dry for hours. You can paint your beads many times for long lasting and glossier finish.
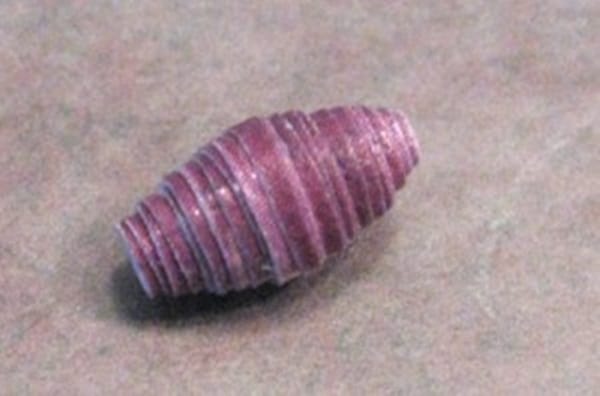
10. Now remove your beads.
Extra Decoration:
You can conical beads also. In that case, while rolling, keep your rolling paper aligned to one side of the bead. If you want self-designed paper beads then draw your paper with markers, pencils or pens and then follow from the Step 2. IF you want extra texture, you can use puff paints which will give the bead surface a bubble- like a form. You can also add glitters or sparkles on the beads for that extra gorgeous look. Mix and match with different shades or threads and anything your imagination can think of. And at last, appreciate your own creation.
How to Use Paper Beads for Jewelry Making:
Paper beads are versatile and now we will learn how to make these magnificent jewelries out of paper beads.
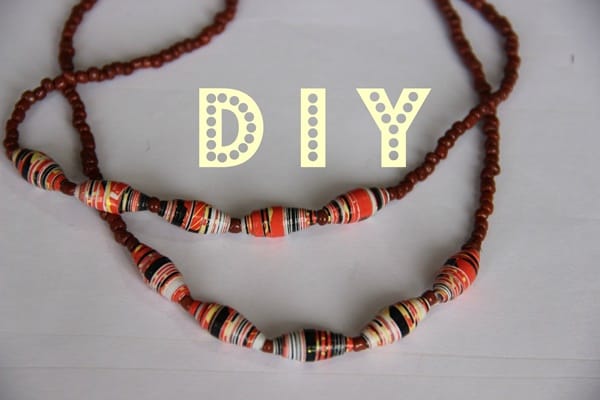
1. Paper bead Necklace: Once you are done making the beads, you can now make your own DIY beads necklace. Take your string properly cut into the length you want. Add clasp or safety pin to the end then thread your bead onto the necklace. For added decoration put glass bead between each paper bead. Clasp together and you are done.
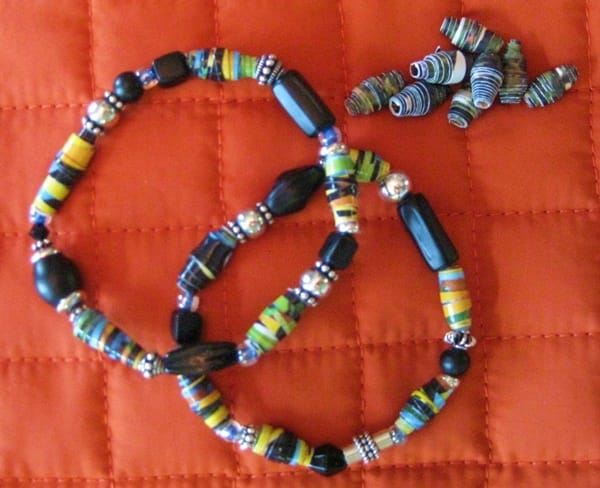
2. Paper bead Bracelets: Paper beads are so much versatile that you can even make bracelets out of them. Depending on your choice you can play with the color and texture of your beads. This tutorial will come handy.
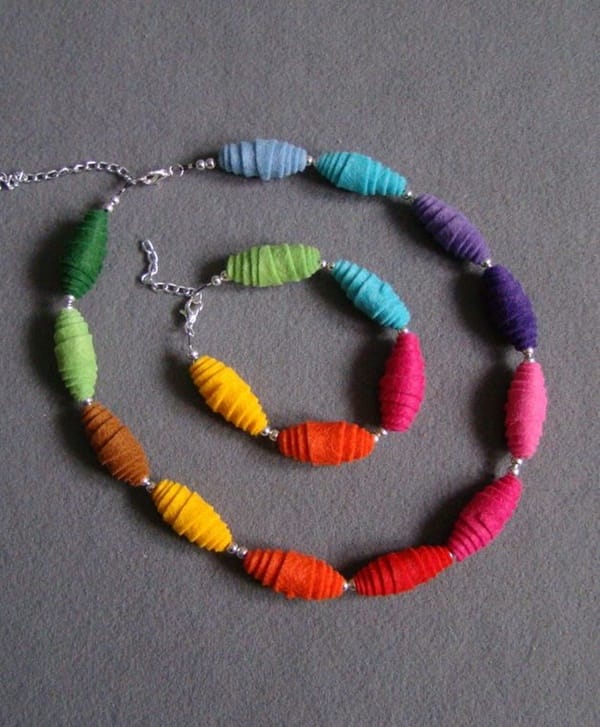
3. Paper Bead Armlet: Following the same procedure of making bracelets you can even make your own DIY paper bead armlet.
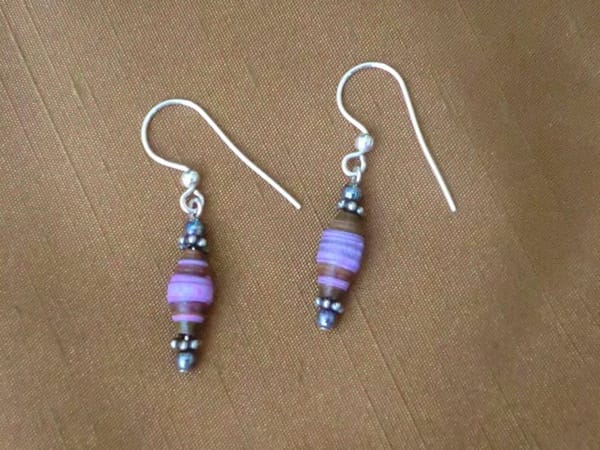
4. Paper bead Earrings: After you are prepared with some beautiful paper beads, get some paper clip and unbend them straight. Curl the end of the clip. Slip the beads onto the clip. Trim and curl the other end. At the end, add an earring hook. YOU can give your earring various looks by using the paperclips differently as they are so versatile.
Starting from these simple designs and styles you can make unique, different necklaces and earrings out of the beads. There are many options like you can make cascading necklaces or three strings necklaces and much more. You can make various pendants out of beads and then can incorporate them into the necklaces. So we hope this article came useful to you and you got to know about how to use paper beads for Jewelry making. Don’t waste more time and start your own project.
